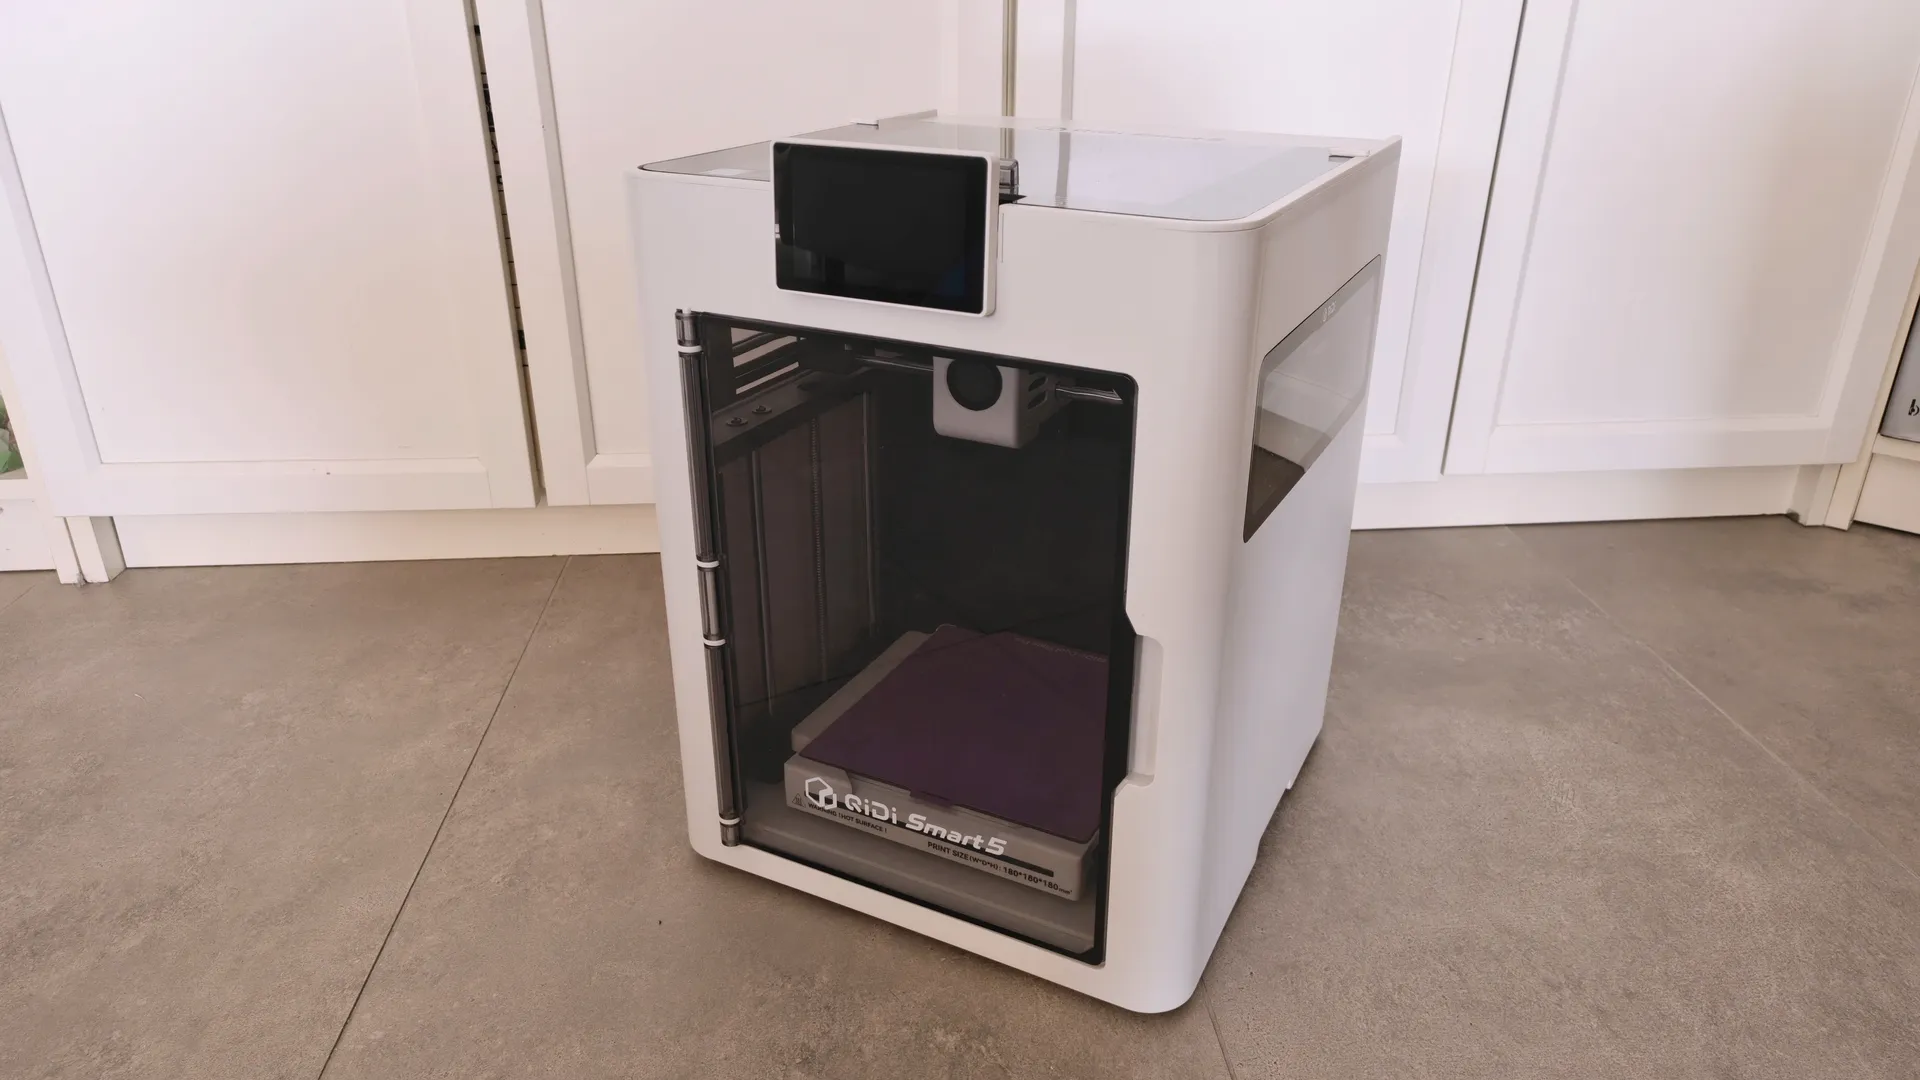
Today, we’re putting the new QIDI MakeBuddy Smart 5 3D printer to the test in our review. It’s a system designed for younger users with some interesting features.
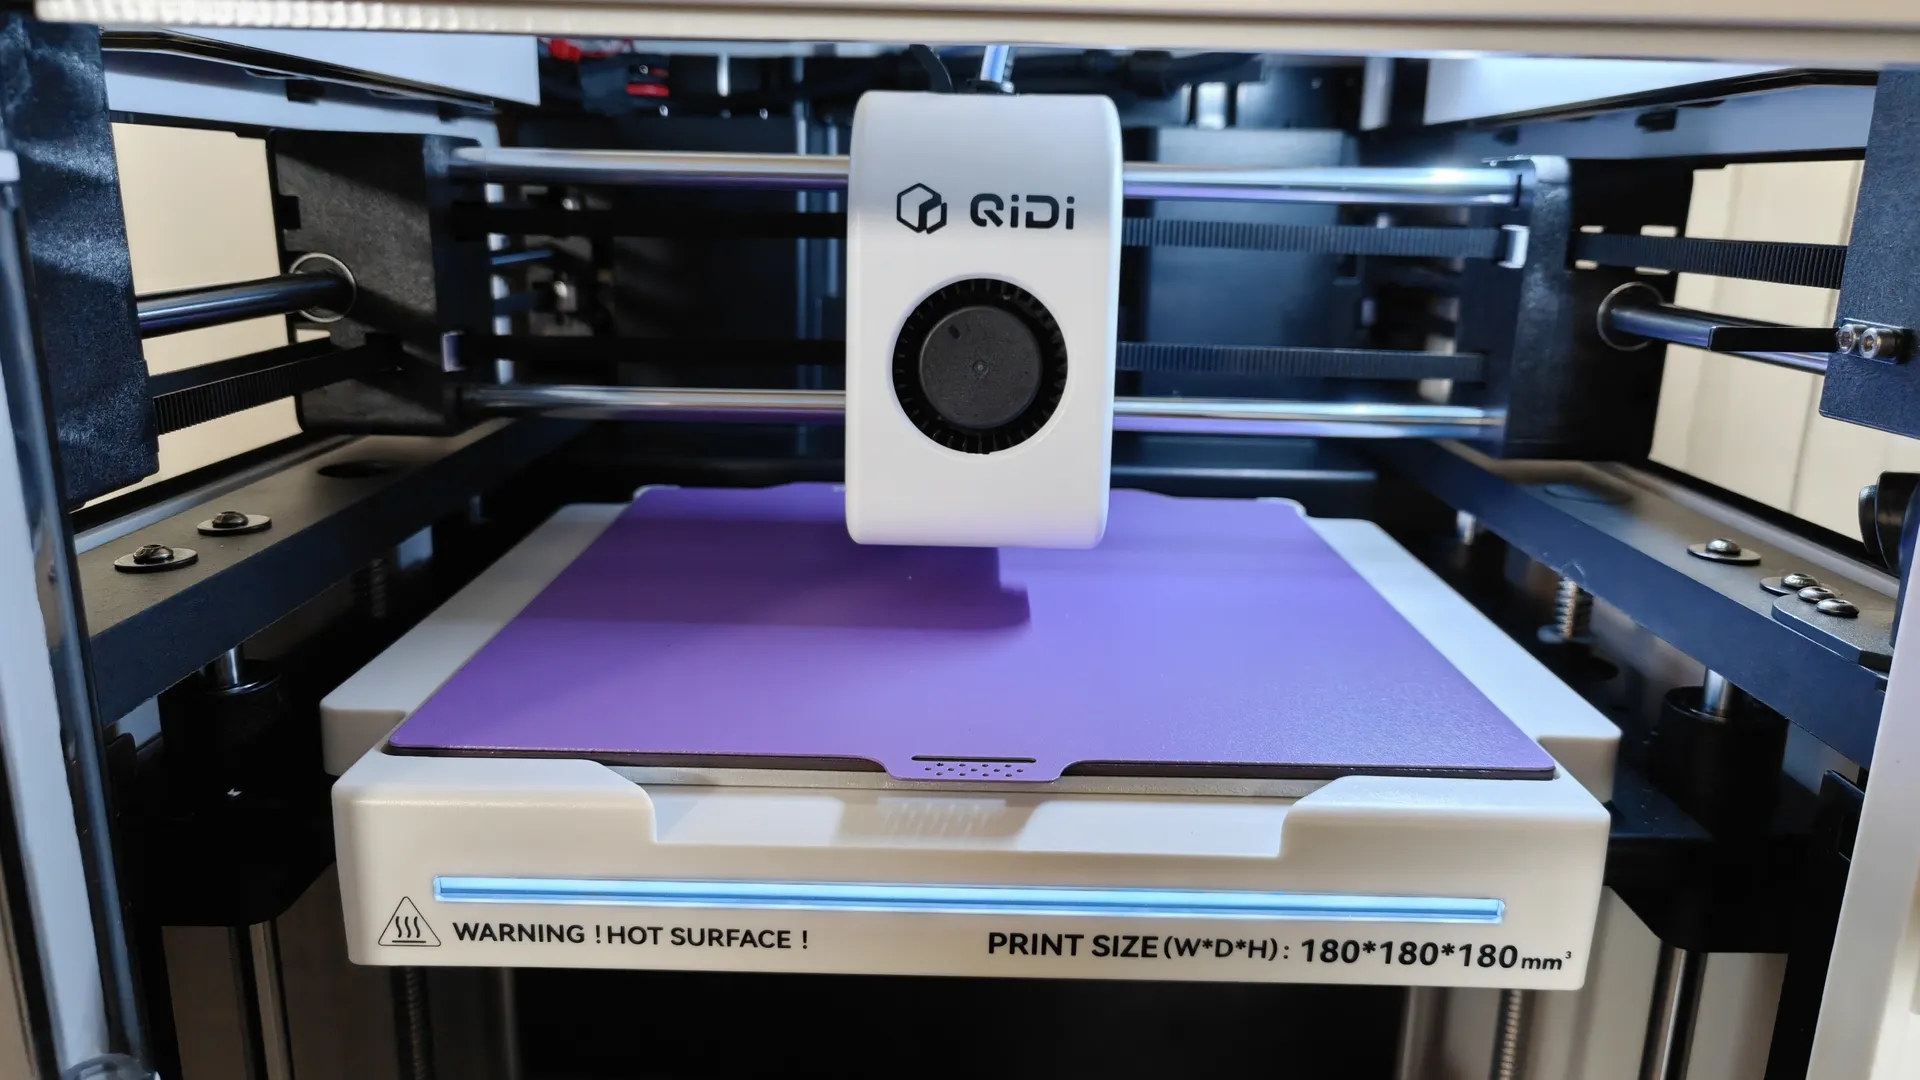
This compact QIDI MakeBuddy Smart 5 CoreXY printer offers a print volume of 180 x 180 x 180 mm, which limits us when it comes to large parts but also means we can set it up just about anywhere. Additionally, it’s compatible with multi-filament systems like the QIDI BOX, allowing you to work primarily with PLA or PTEG. Its simple interface and educational apps for kids, such as QIDI Joy, make it an appealing option.
In this review, we explain its features and how to use it without any hassle. If you’d like to learn more about this type of machine, check out our Guide to Filament 3D Printers.
- The QIDI MakeBuddy Smart 5 3D printer is available for purchase in the QIDI store from $349.
- We also offer a multi-filament Combo option with the QIDI BOX.
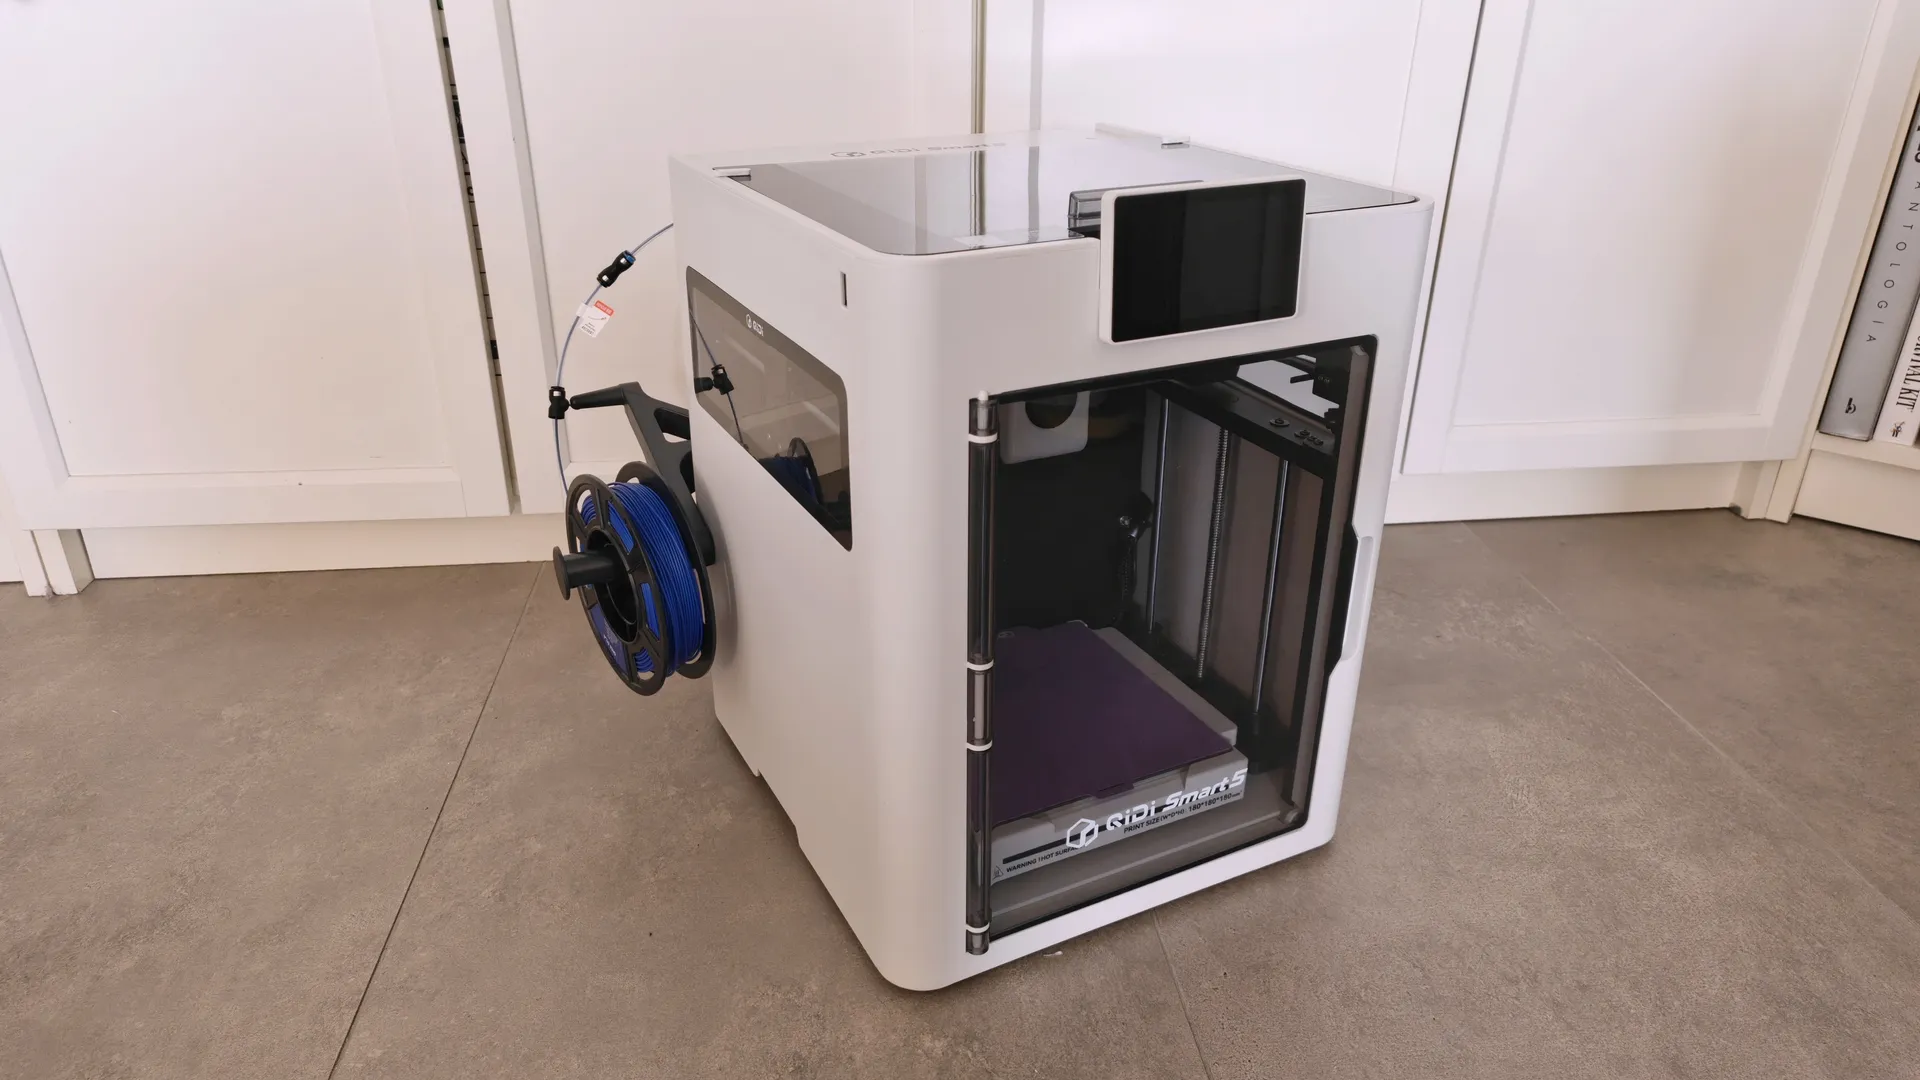
Technical Specifications
QIDI MakeBuddy Smart 5
- Build size: 180 x 180 x 180 mm / Core XY format
- Supported filament: PLA/PETG
- Features: Resume printing / Filament sensor / AI-powered FHD webcam
- Print speed: 600 mm/s max / 20 m/s² acceleration
- Drive system: 1x Z-axis servo / 1x XY-axis servo / X-axis linear guide / YZ-axis rod guides
- Nozzle diameter: 0.4 mm / 1.75 mm filament
- Nozzle: Temperature 300 °C
- Heating: Bed 80 °C / 1x PWM fan / 1x filter
- Leveling: Load sensors / Resonance
- Display: 4″ capacitive touchscreen / 800×480
- Print bed: Double-sided magnetic steel sheet / Load sensor
- Connectivity: USB-A / Wi-Fi 2.4/5 GHz
- Camera and Light: 1080p webcam / Side LED light
- Dimensions: 322 x 344 x 410 mm / 10 kg
- Software: QIDI Studio / QIDI Joy / QIDI Link / Optional Orca, Prusa Slicer…
- Extras: Campfire kit and clock / 4 rolls of colored filament / QIDI BOX compatible
Assembly, Setup, and Connection
Thanks to its Core XYdesign, setting up the new QIDI MakeBuddy Smart 5 is very simple. The enclosure features a sturdy plastic frame. It has a front door, side panels, and a top panel made of clear plastic.
Unboxing and Assembly
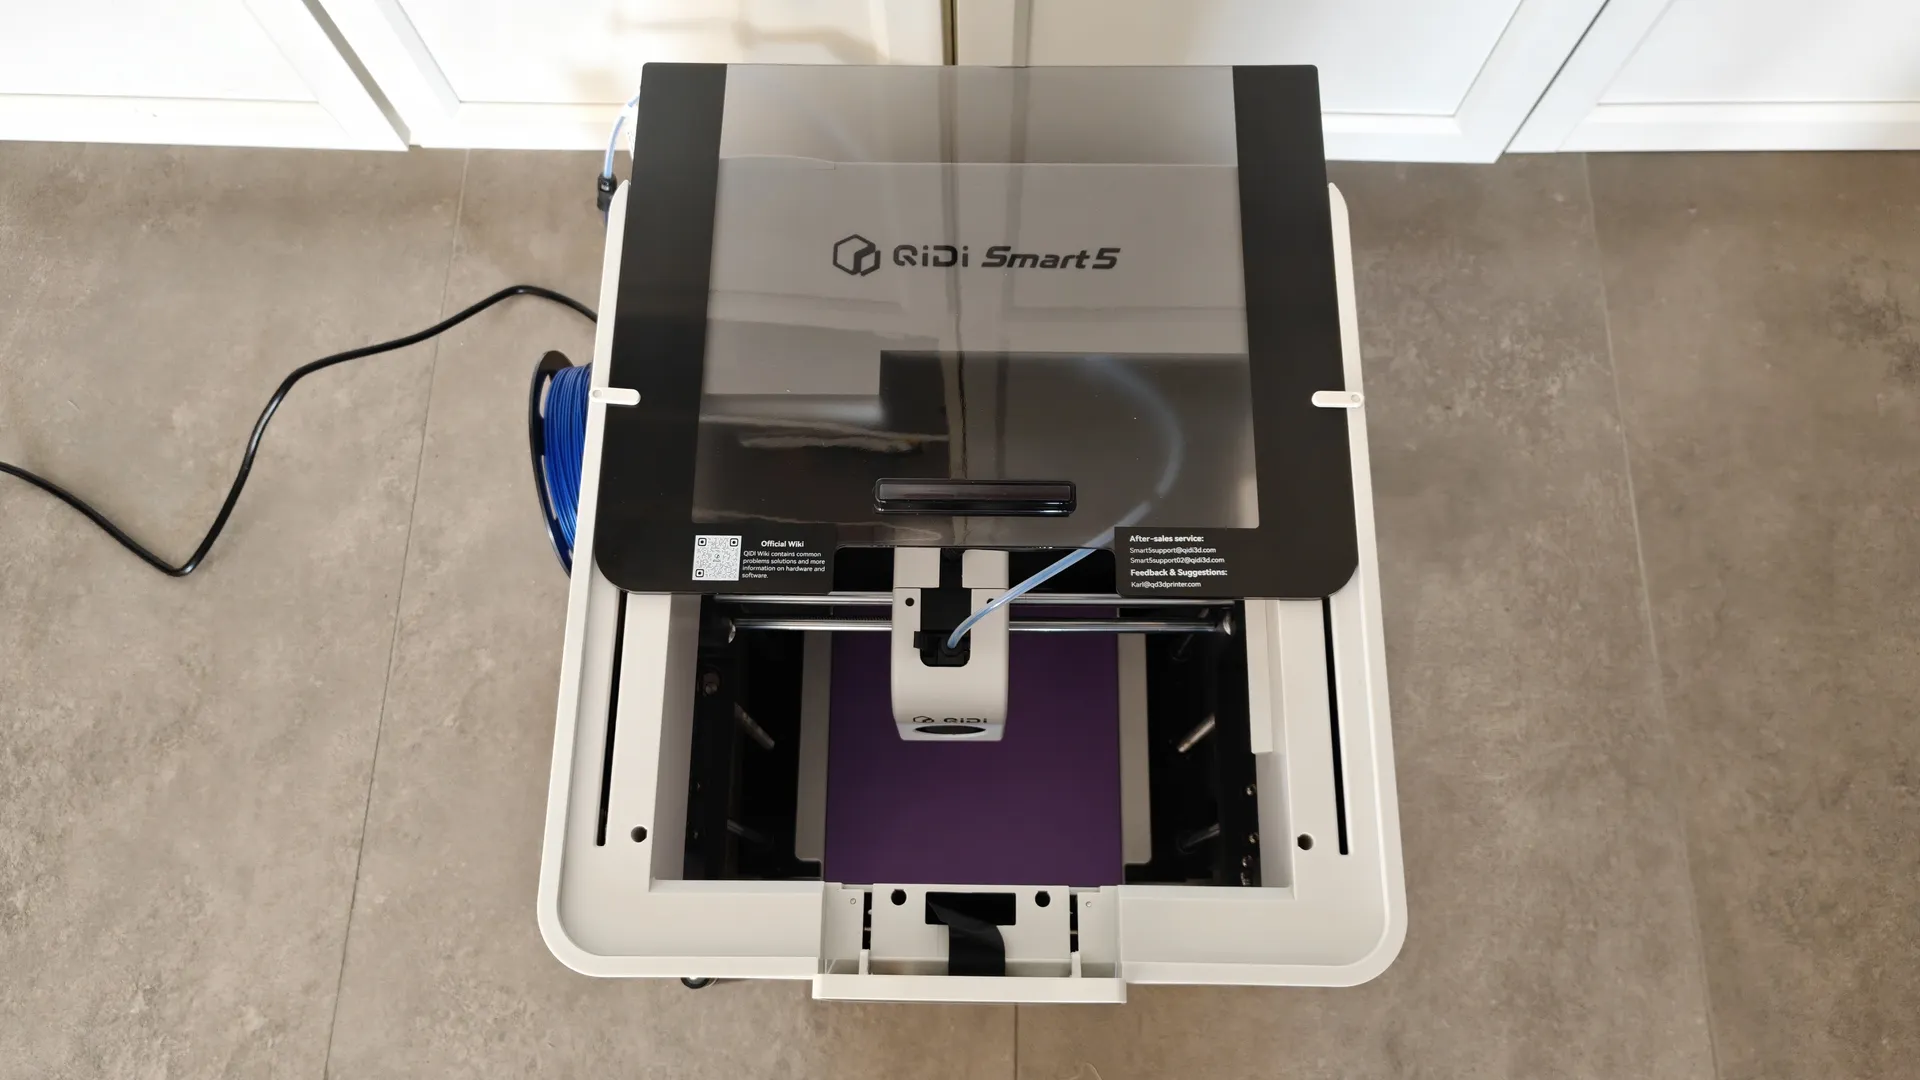
The new QIDI MakeBuddy Smart 5 arrives perfectly protected. It comes standard with 4 rolls of colored filament and 2 assembly kits one for a campfire and one for a clock complete with their mechanisms. We followed the detailed instructions included to unpack and set up everything needed, and had it up and running in about 15 minutes.
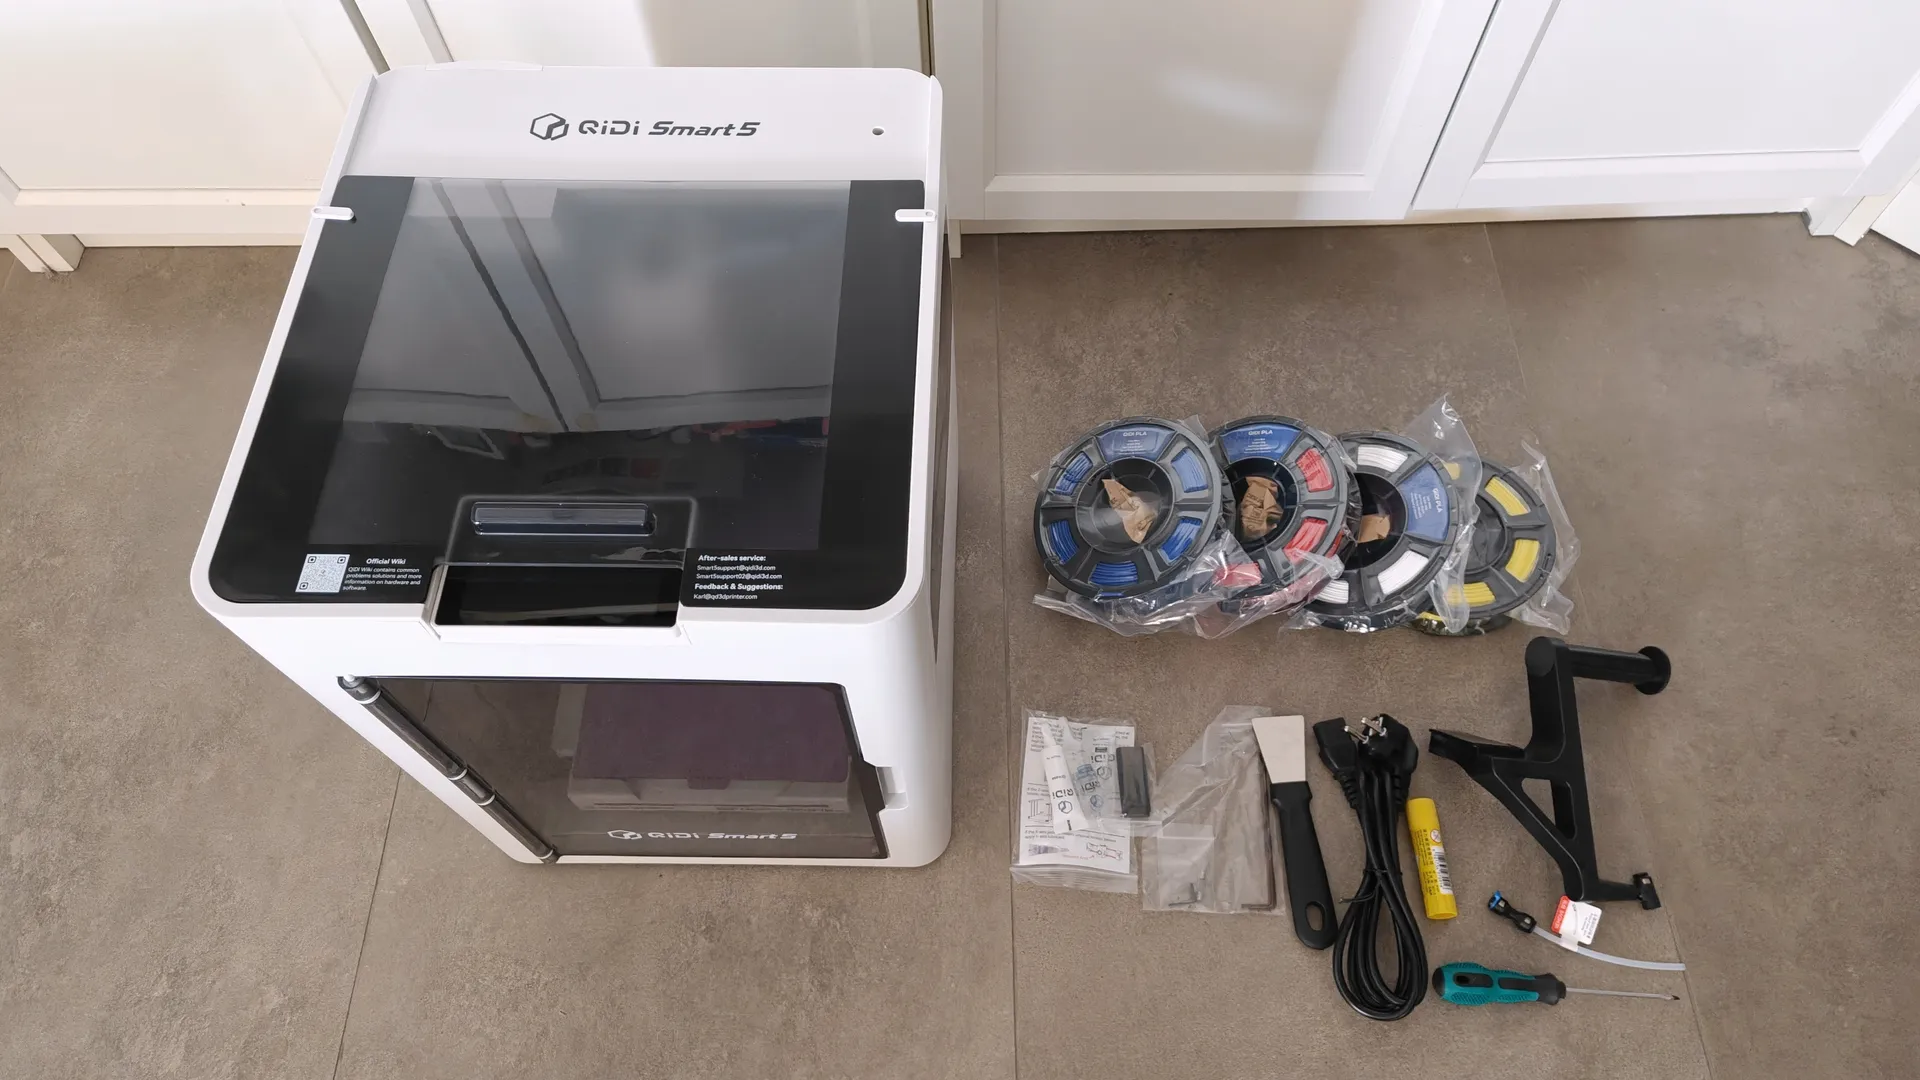
Setting Up the QIDI MakeBuddy Smart 5
- Remove the plugs and the box of internal accessories.
- Plug it in and turn it on.
- Follow the on-screen instructions.
- Attach the side roll holder arm to the extension tube.
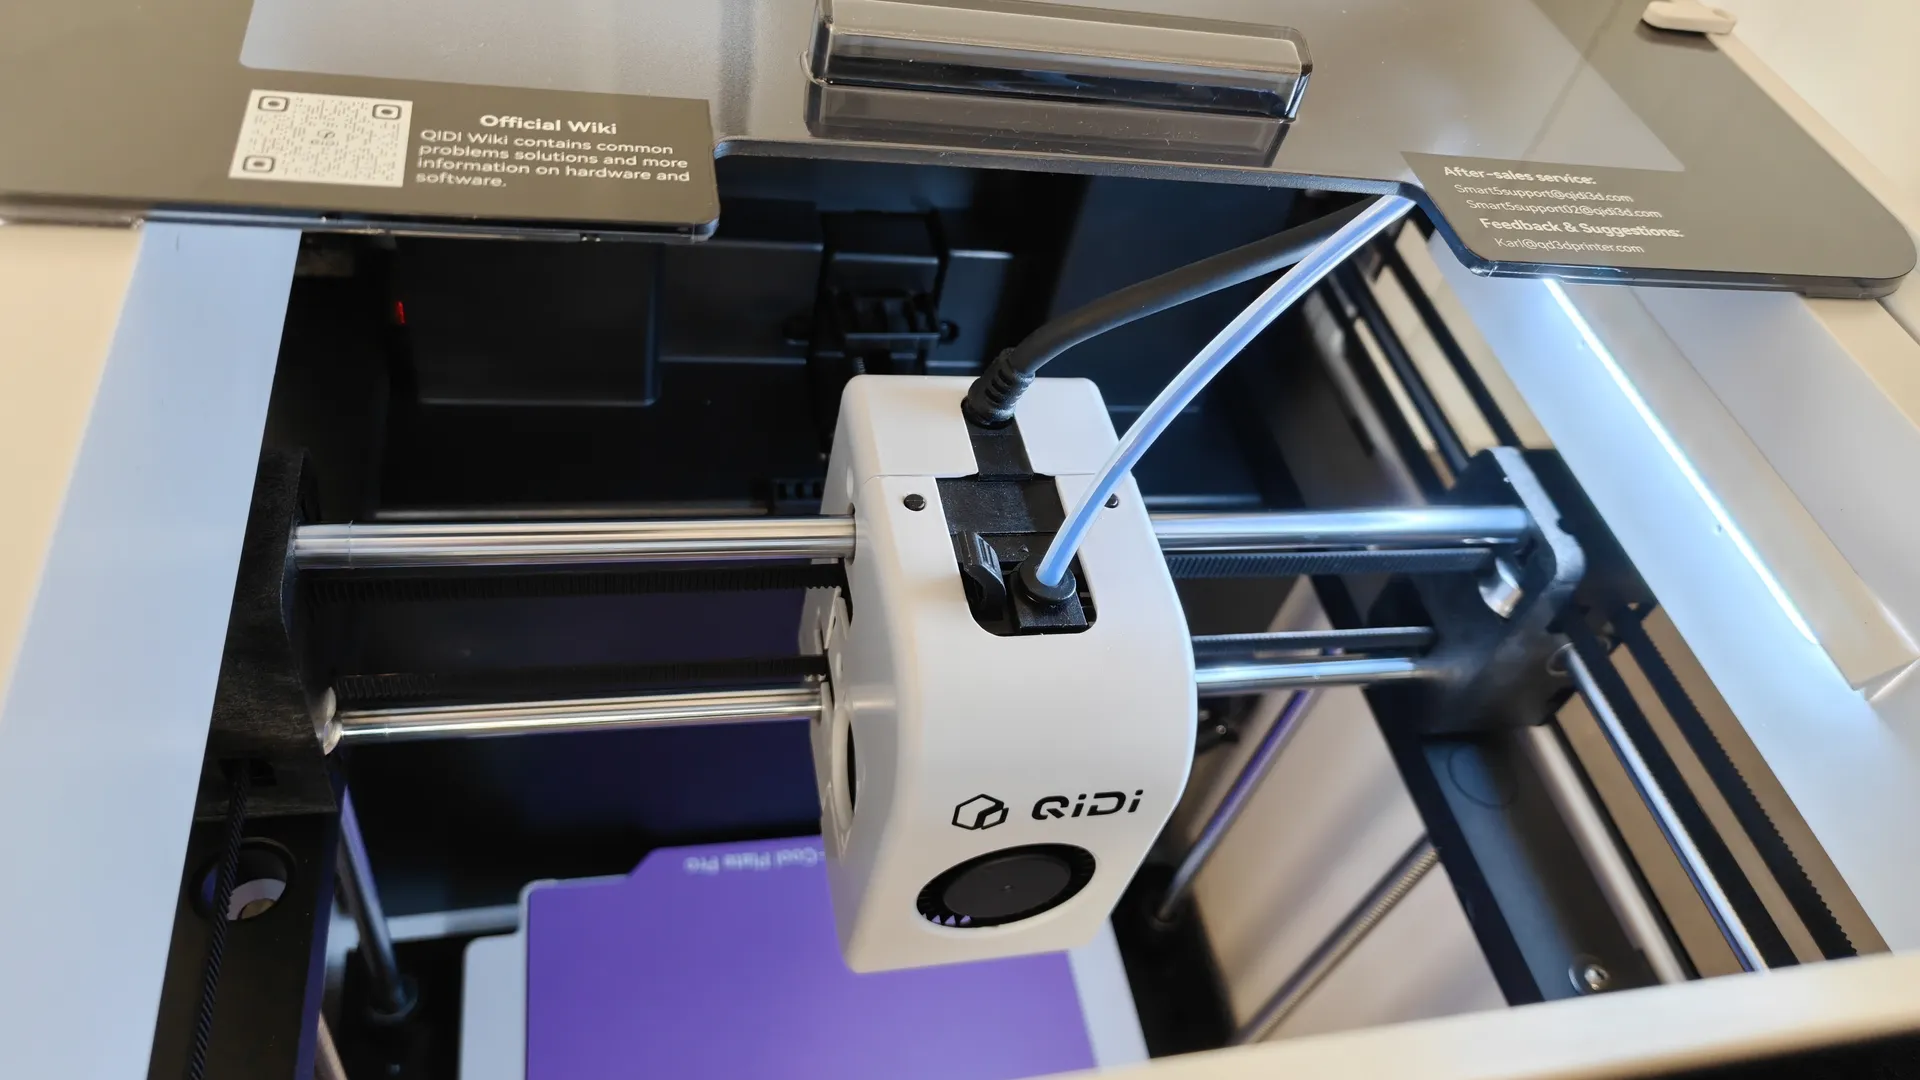
- Connect the tube to the head inlet.
- The calibration and vibration process will begin and last for a few minutes.
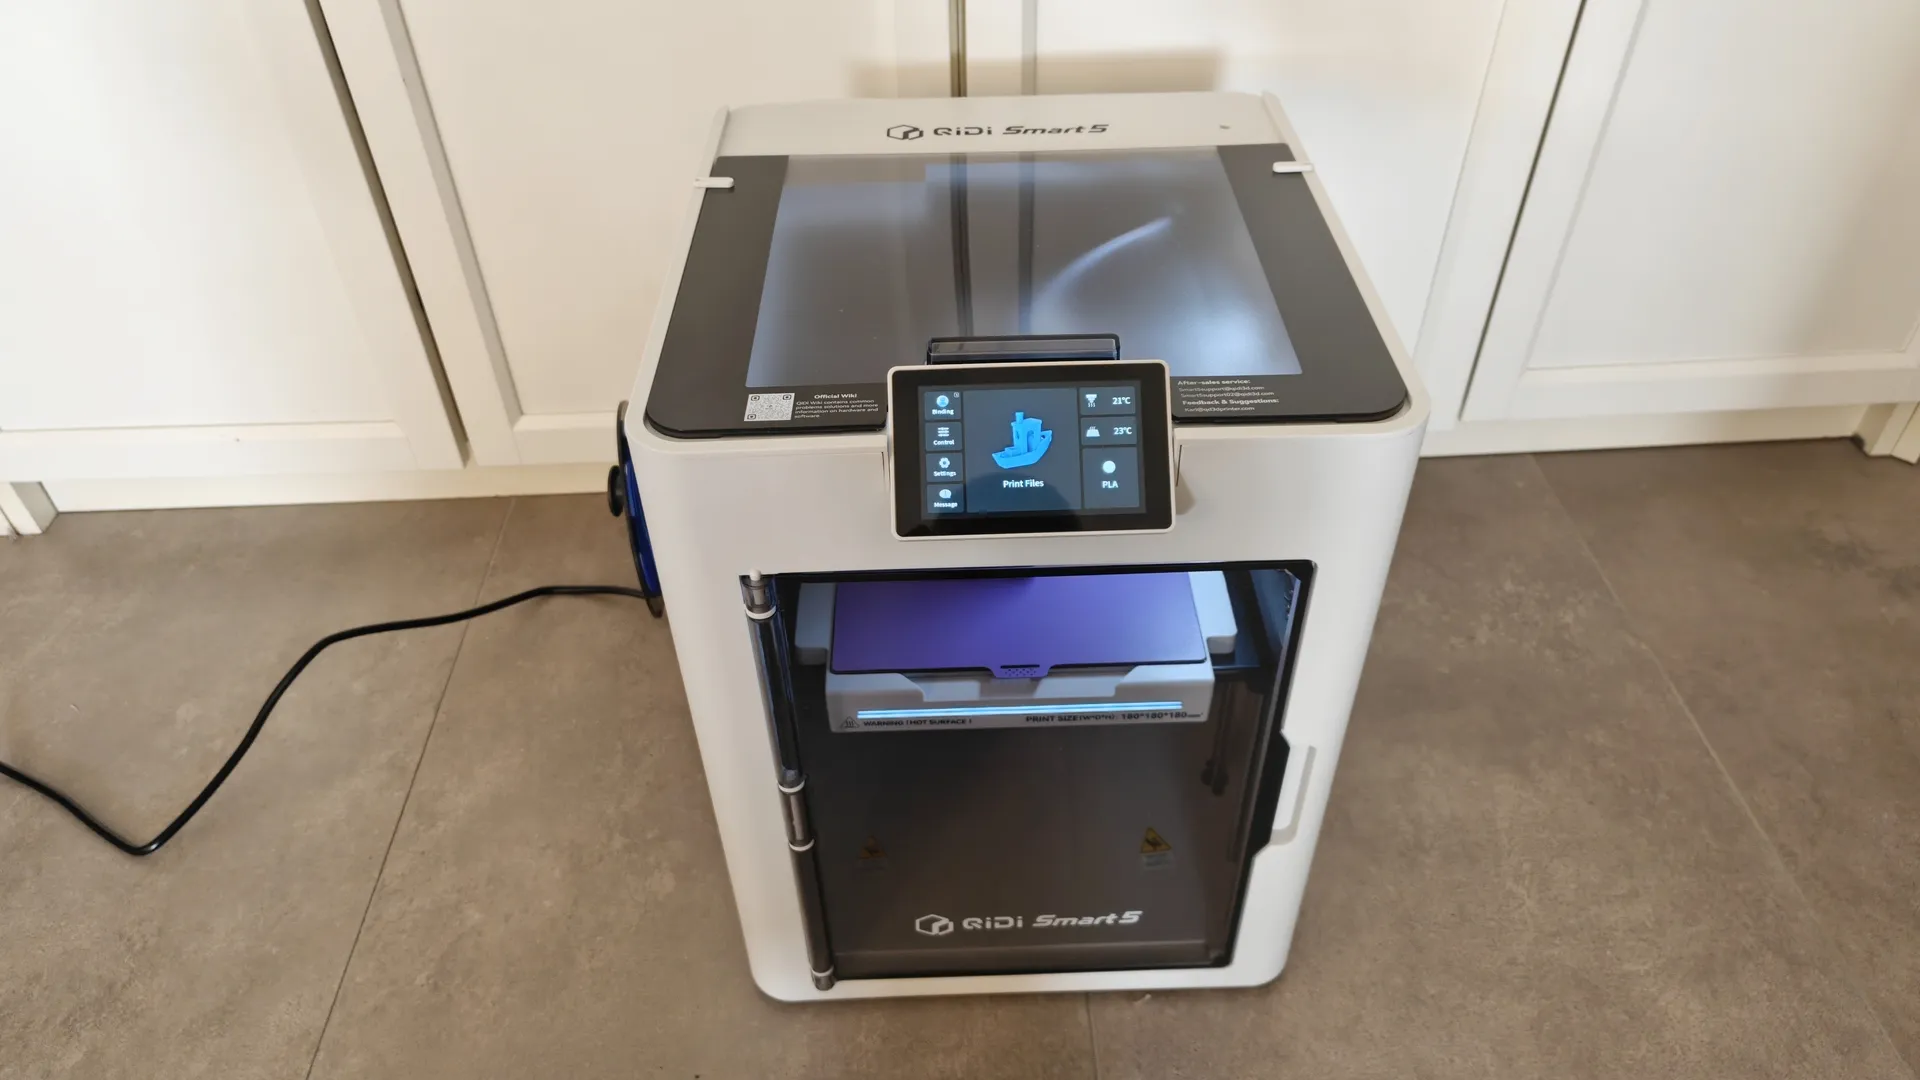
3D Printer Axes and Leveling
Thanks to the self-leveling and vibration systemincluded with the QIDI MakeBuddy Smart 5, you can get the system up and running in just a few minutes. Simply follow the on-screen instructions; the initial leveling and vibration phase takes quite a while. The normal leveling phase takes less time and isn’t always necessary.
Components, Controls, and 3D Software
Structure of the QIDI MakeBuddy Smart 5
The new QIDI MakeBuddy Smart 5 printer features sleek, rounded lines. It has a hinged front door, a two-position top cover, and a rotating display.
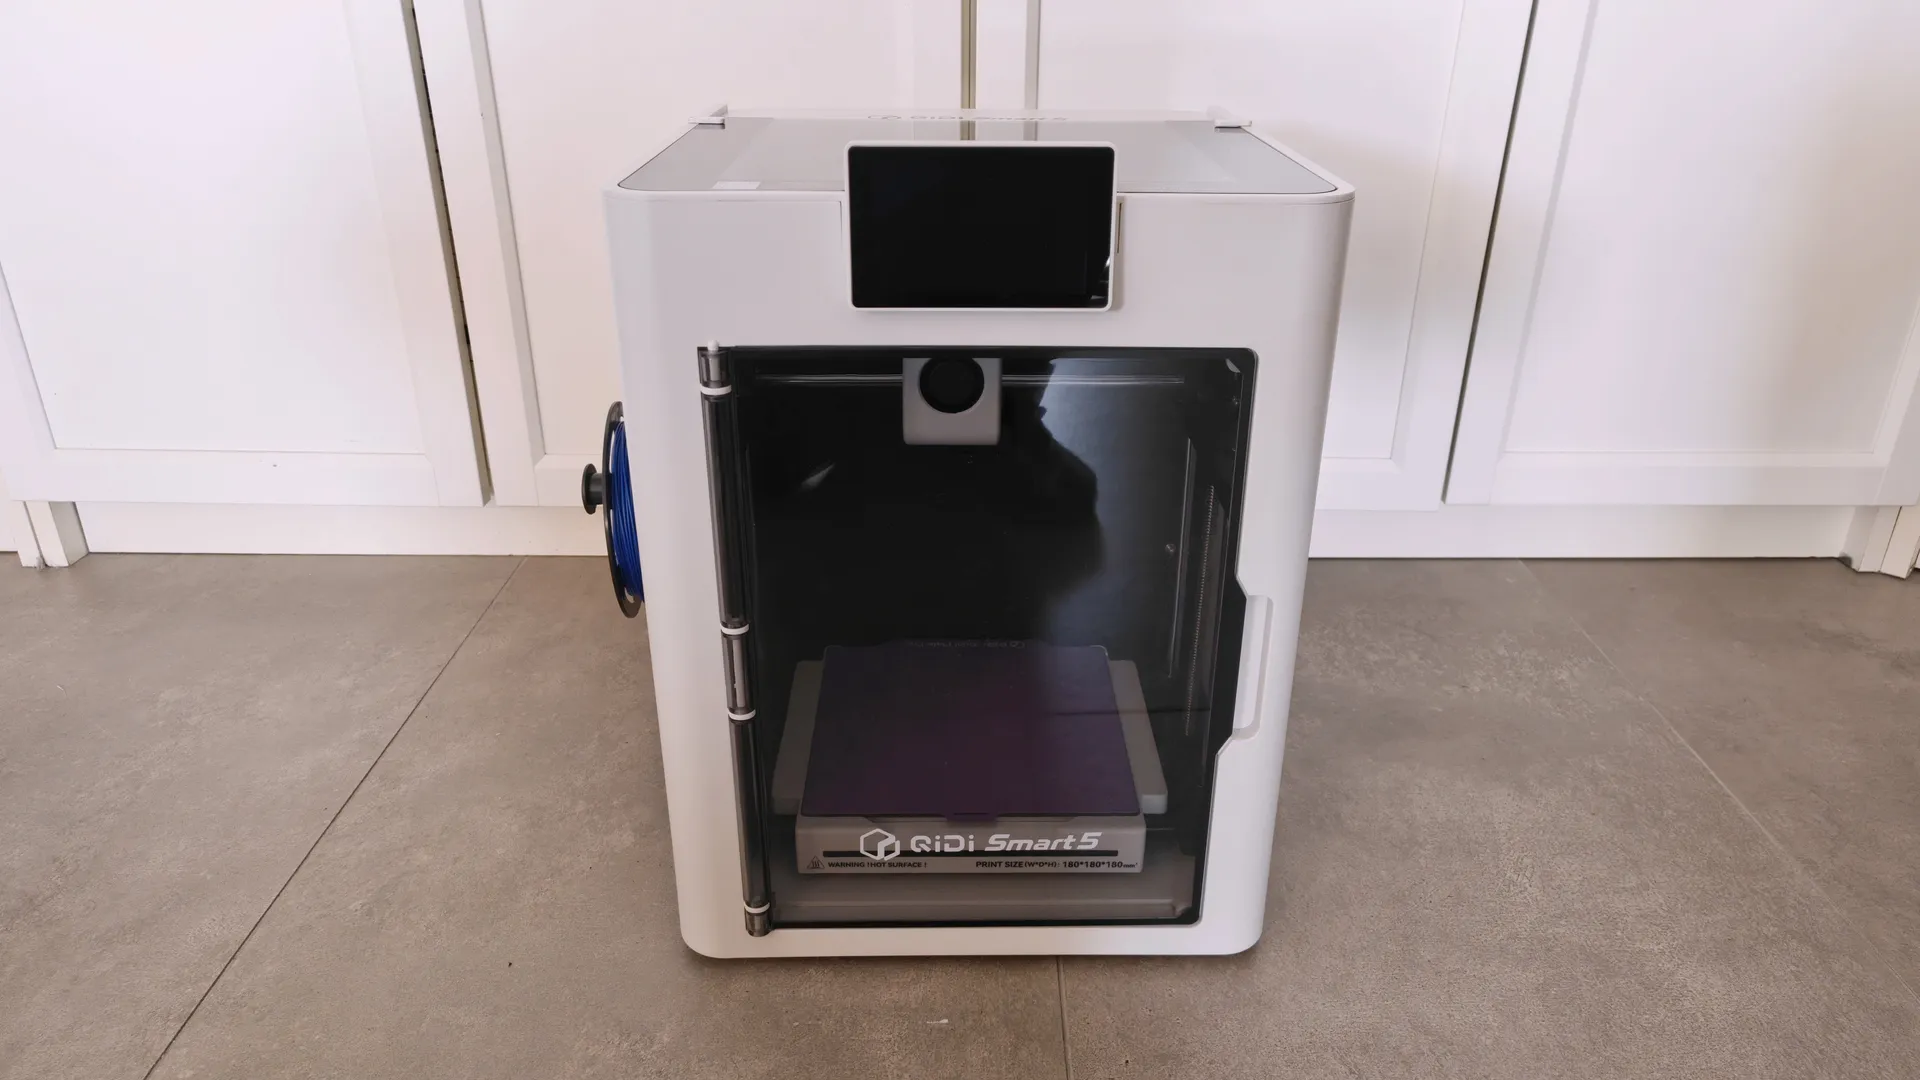
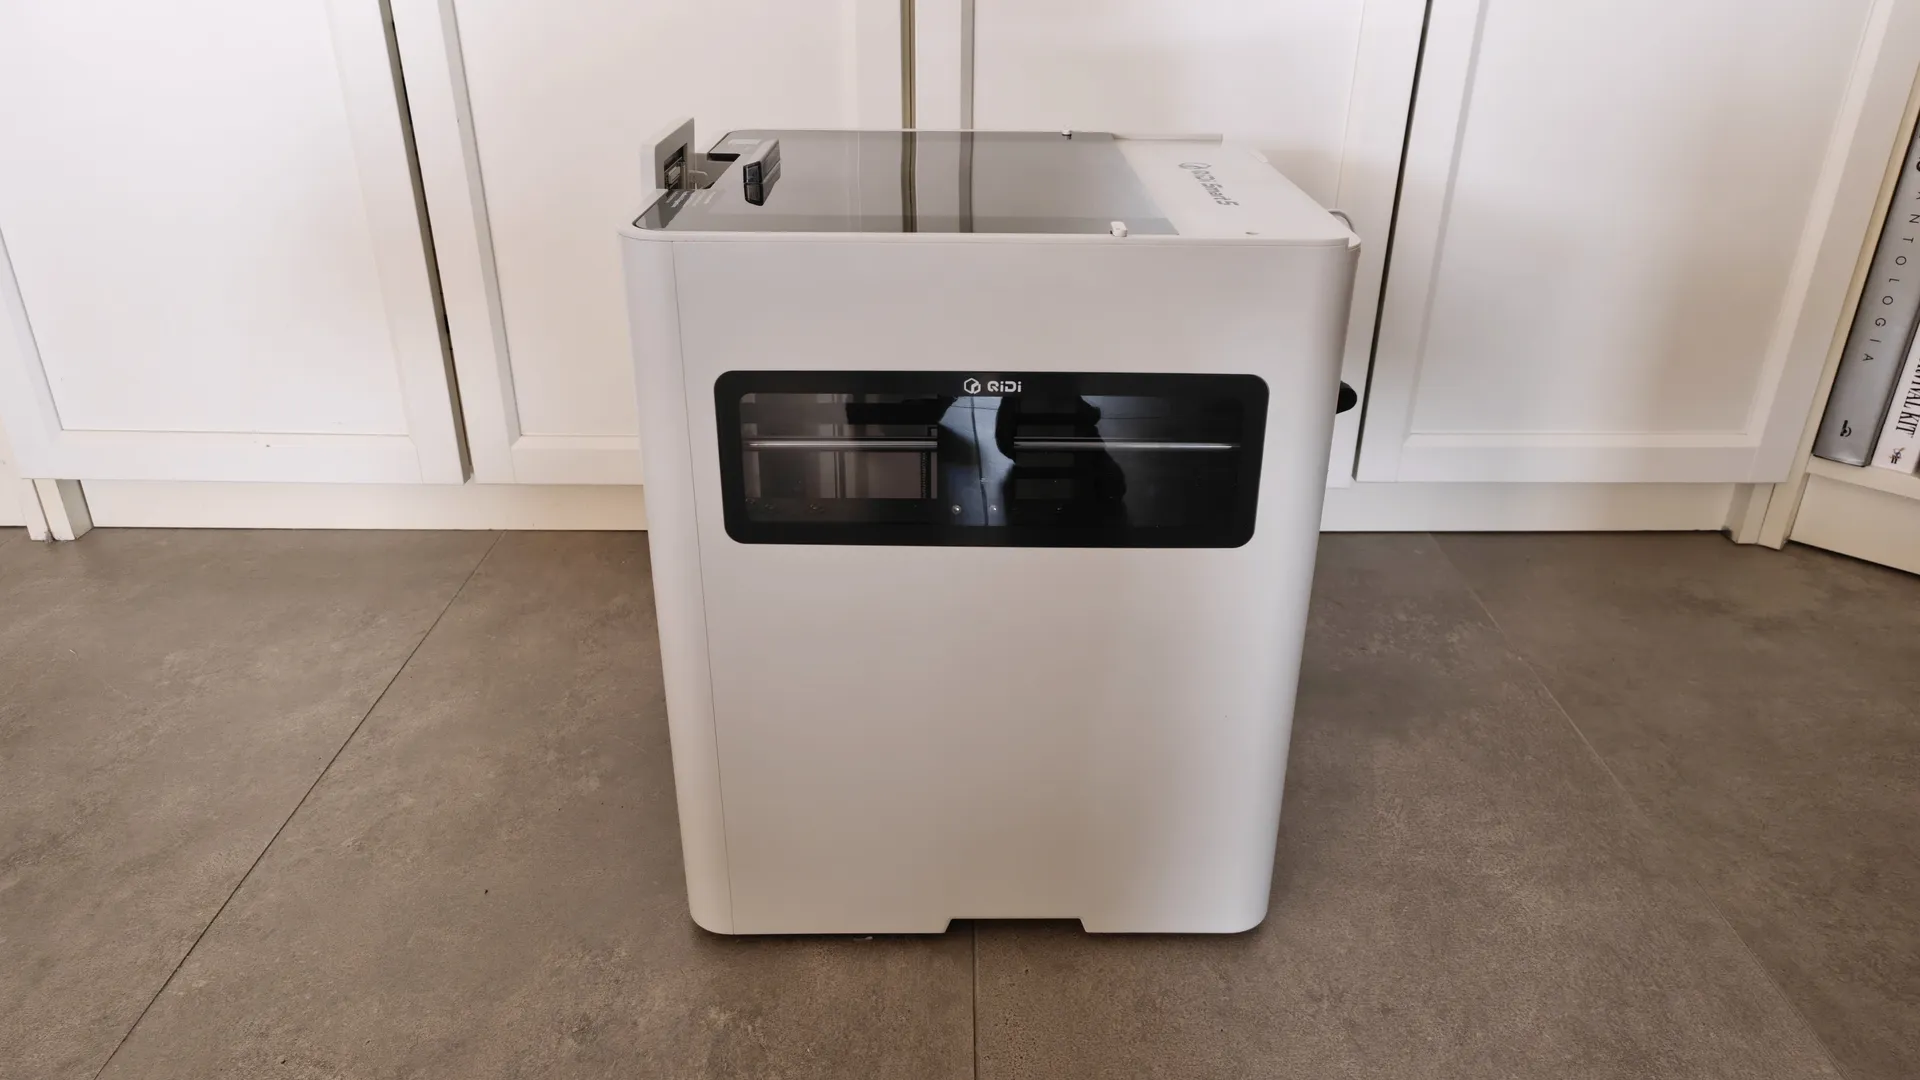
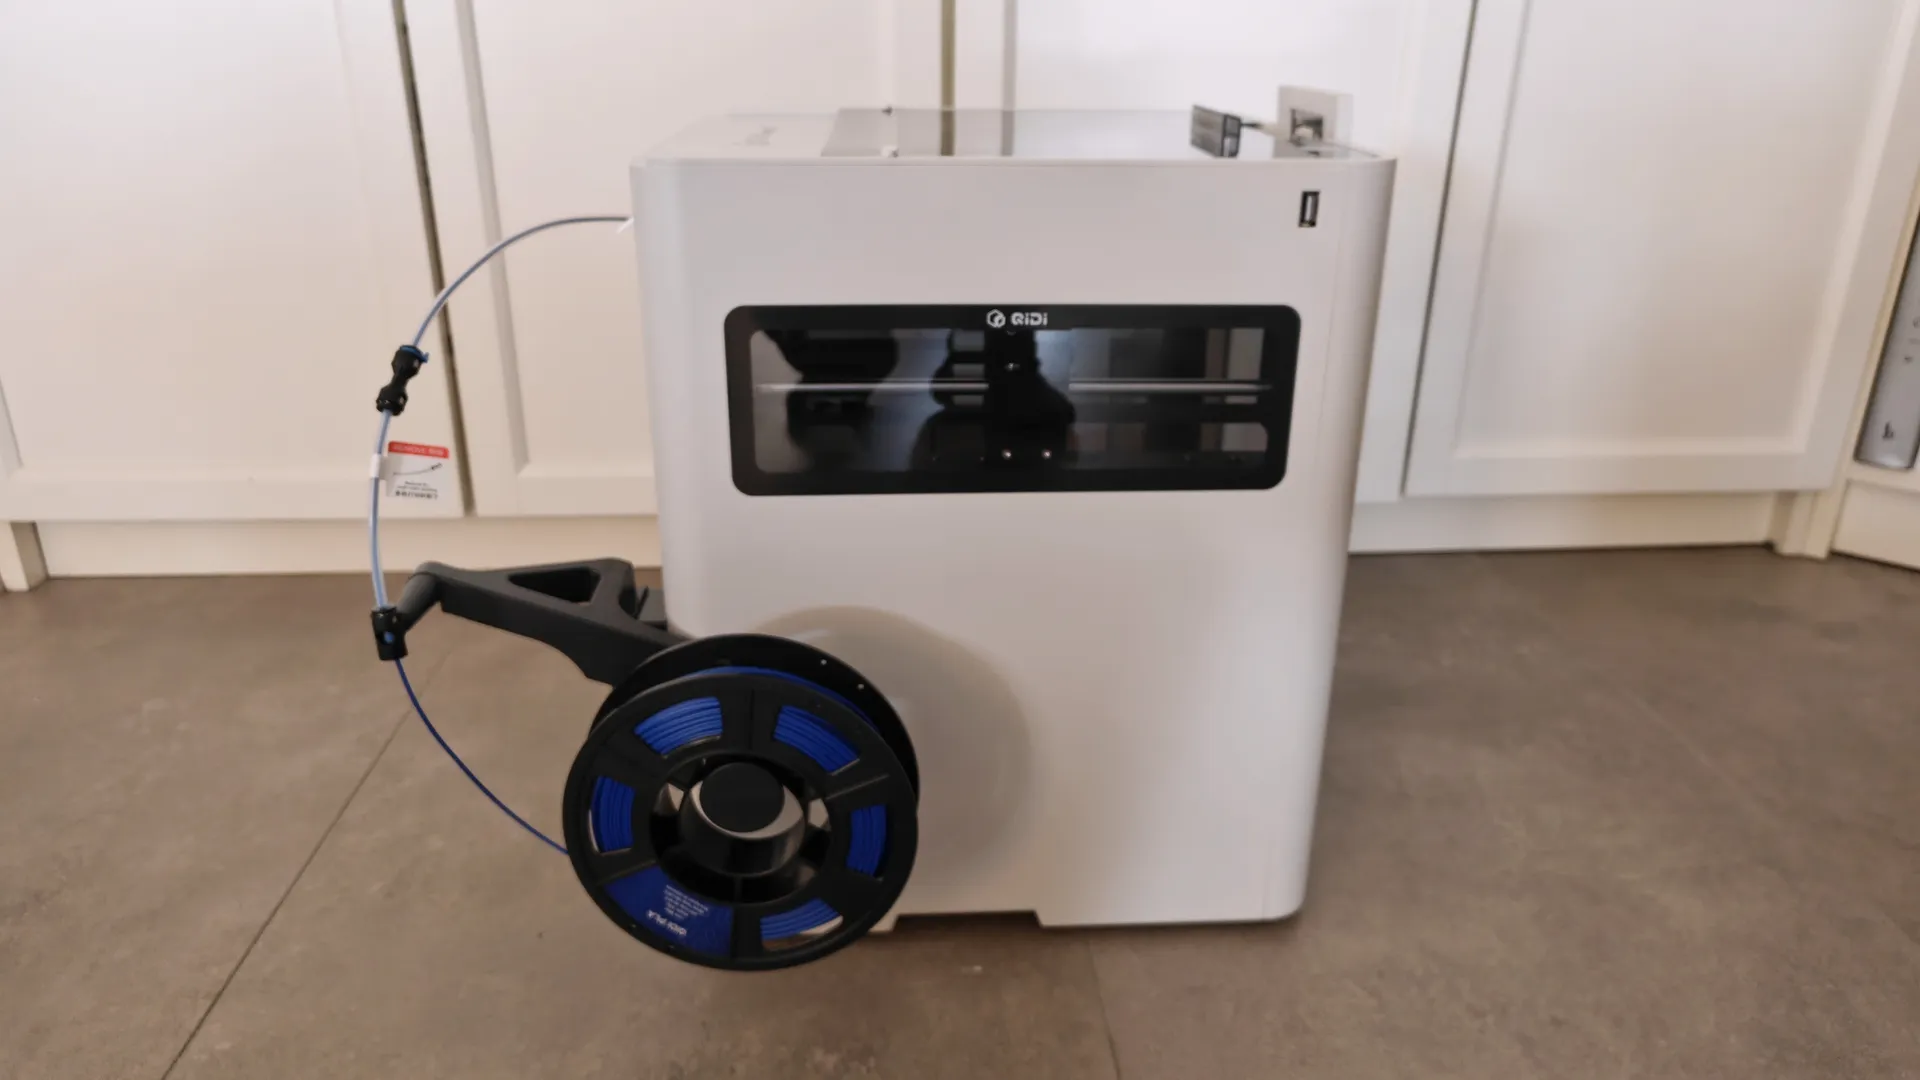
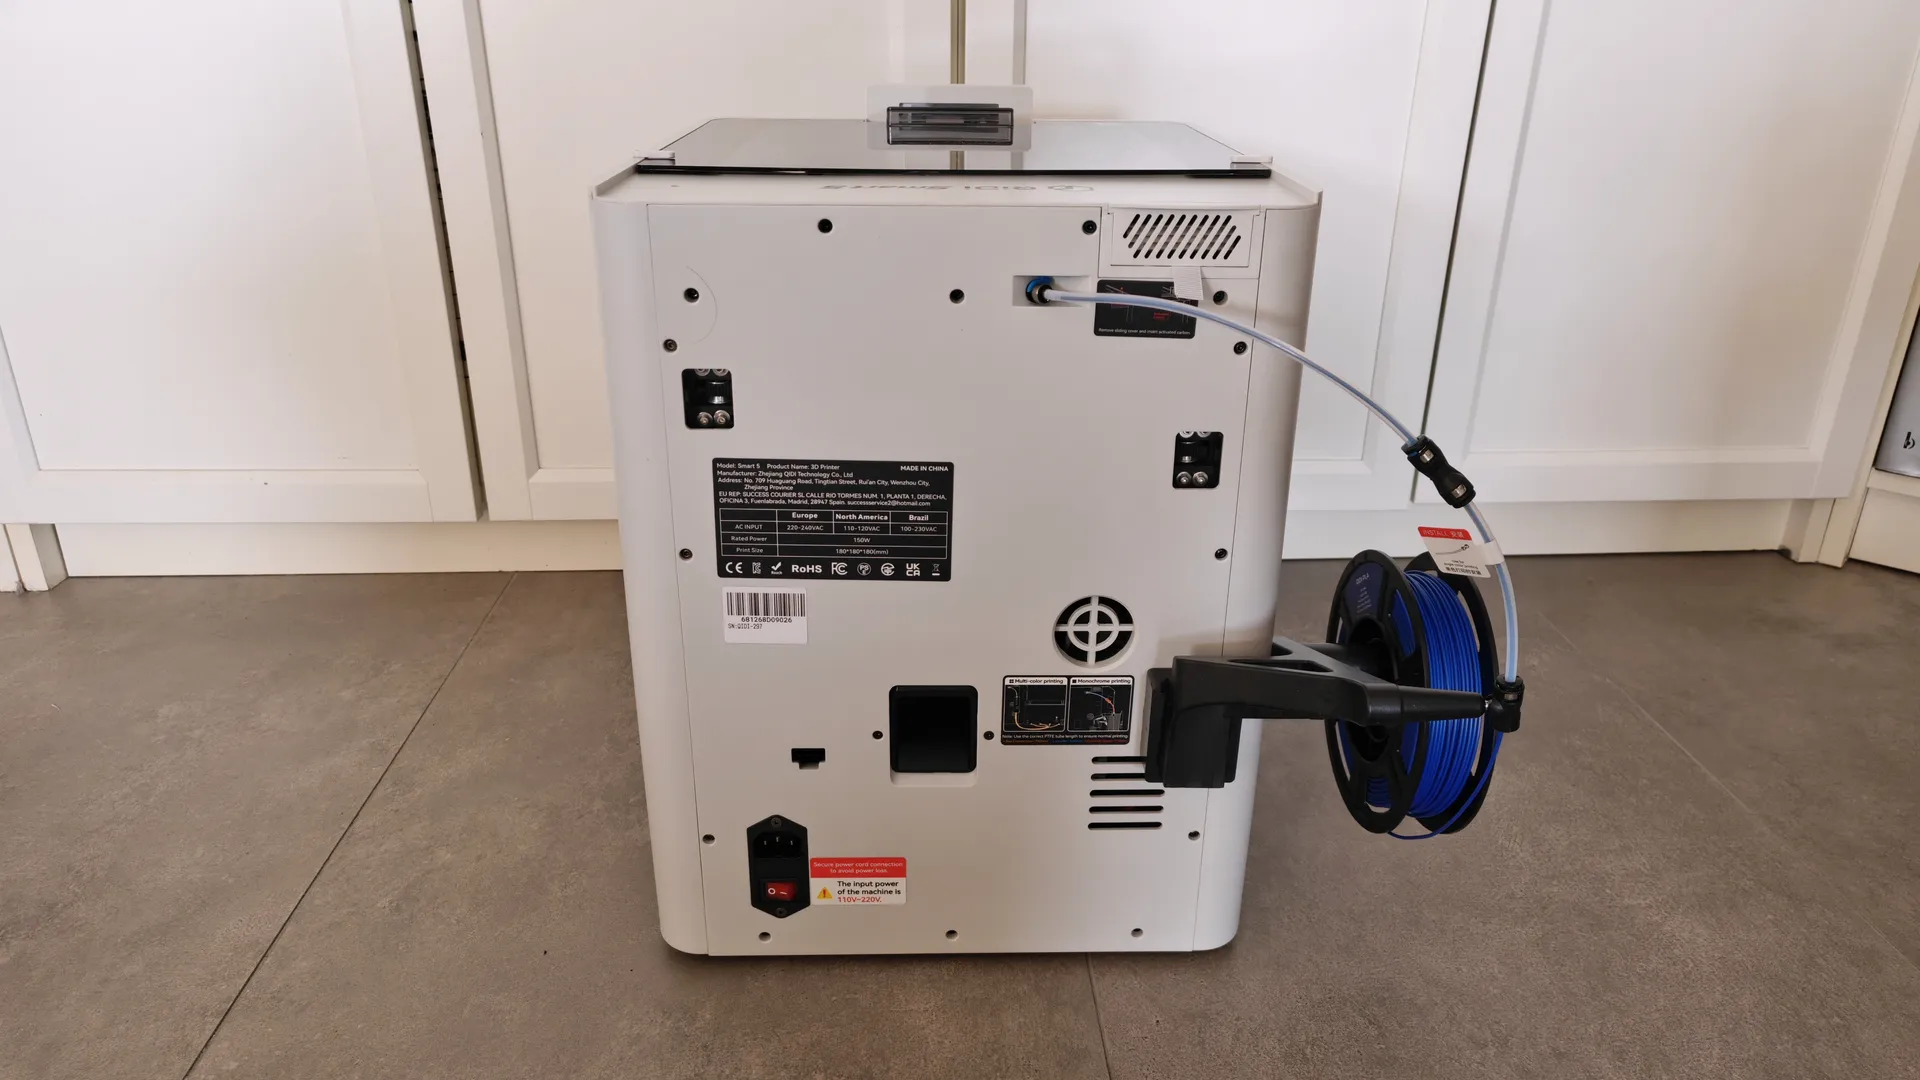
The roll holder can be mounted on the left side, and the power connector is on the right. This area also includes control connectors for the BOX, air vents, and a waste ejector. There are two openings that allow you to easily tension the belts without having to disassemble anything.
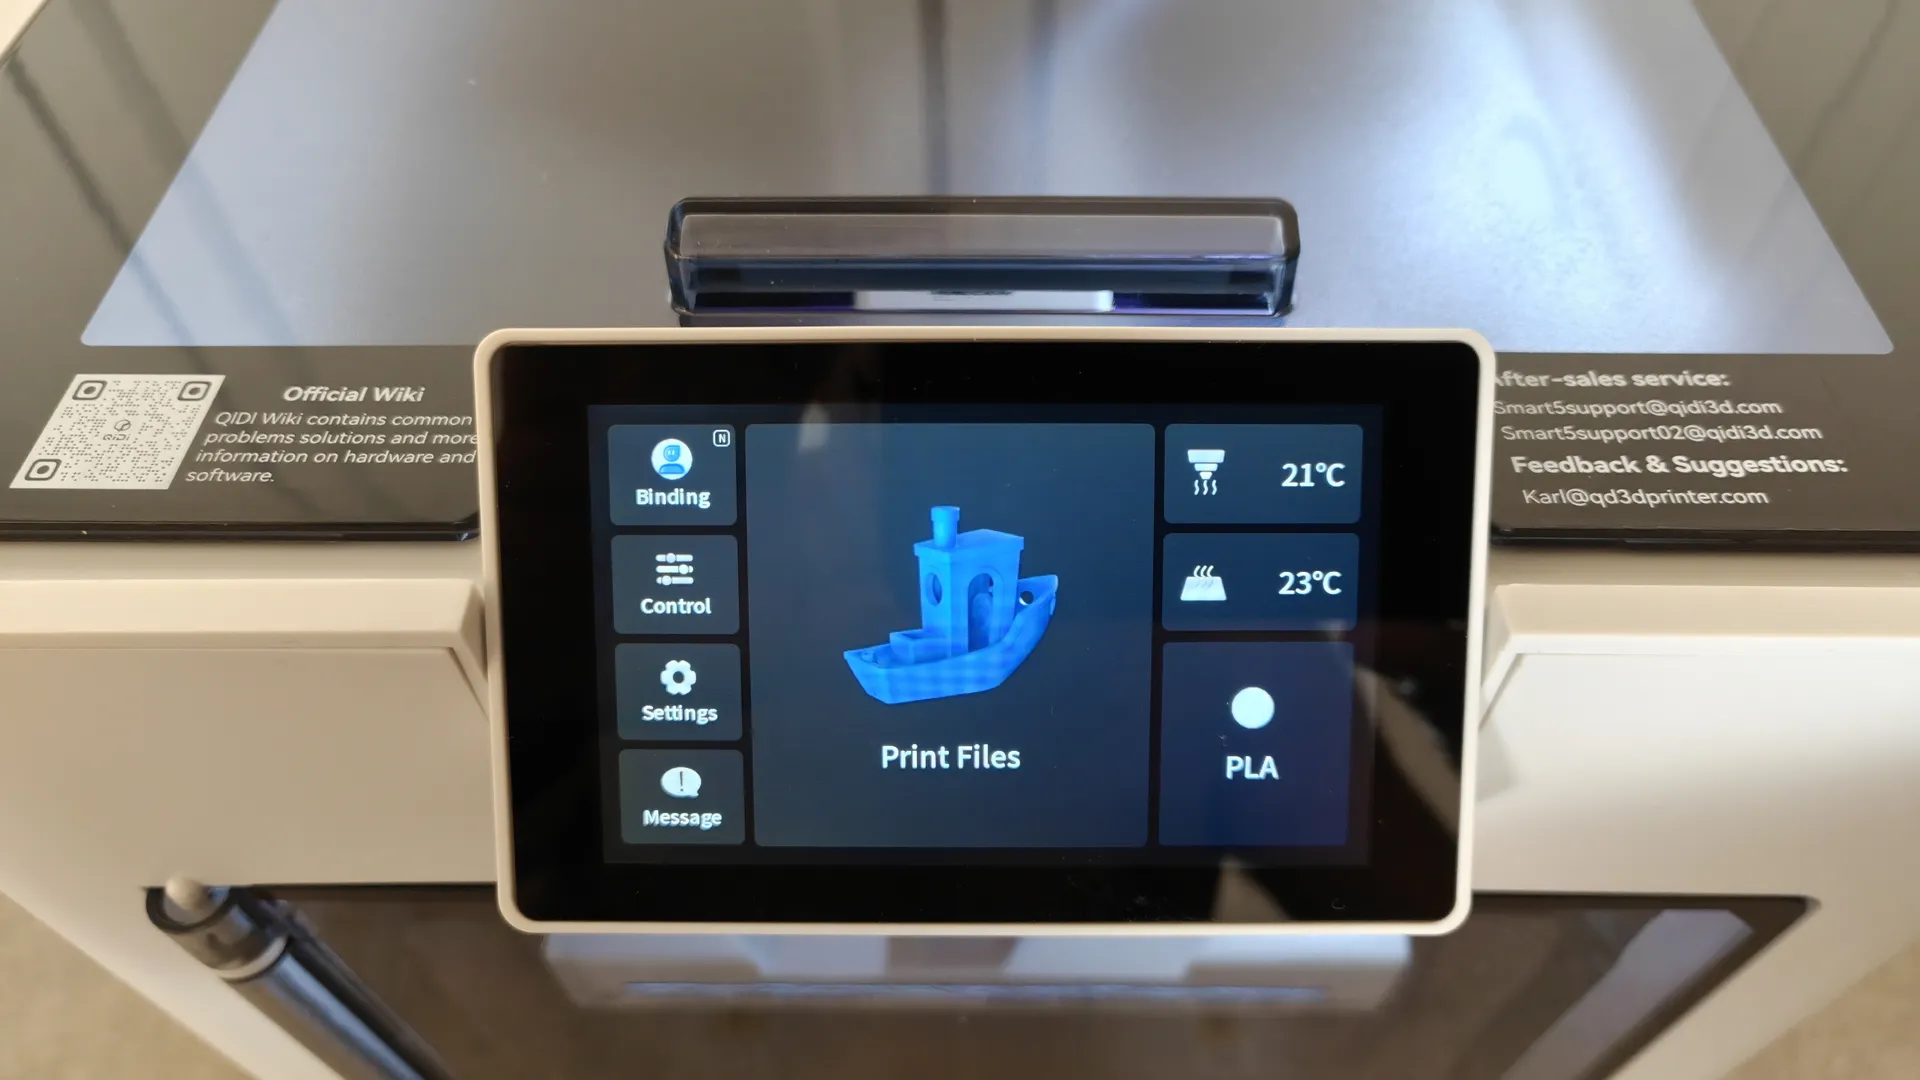
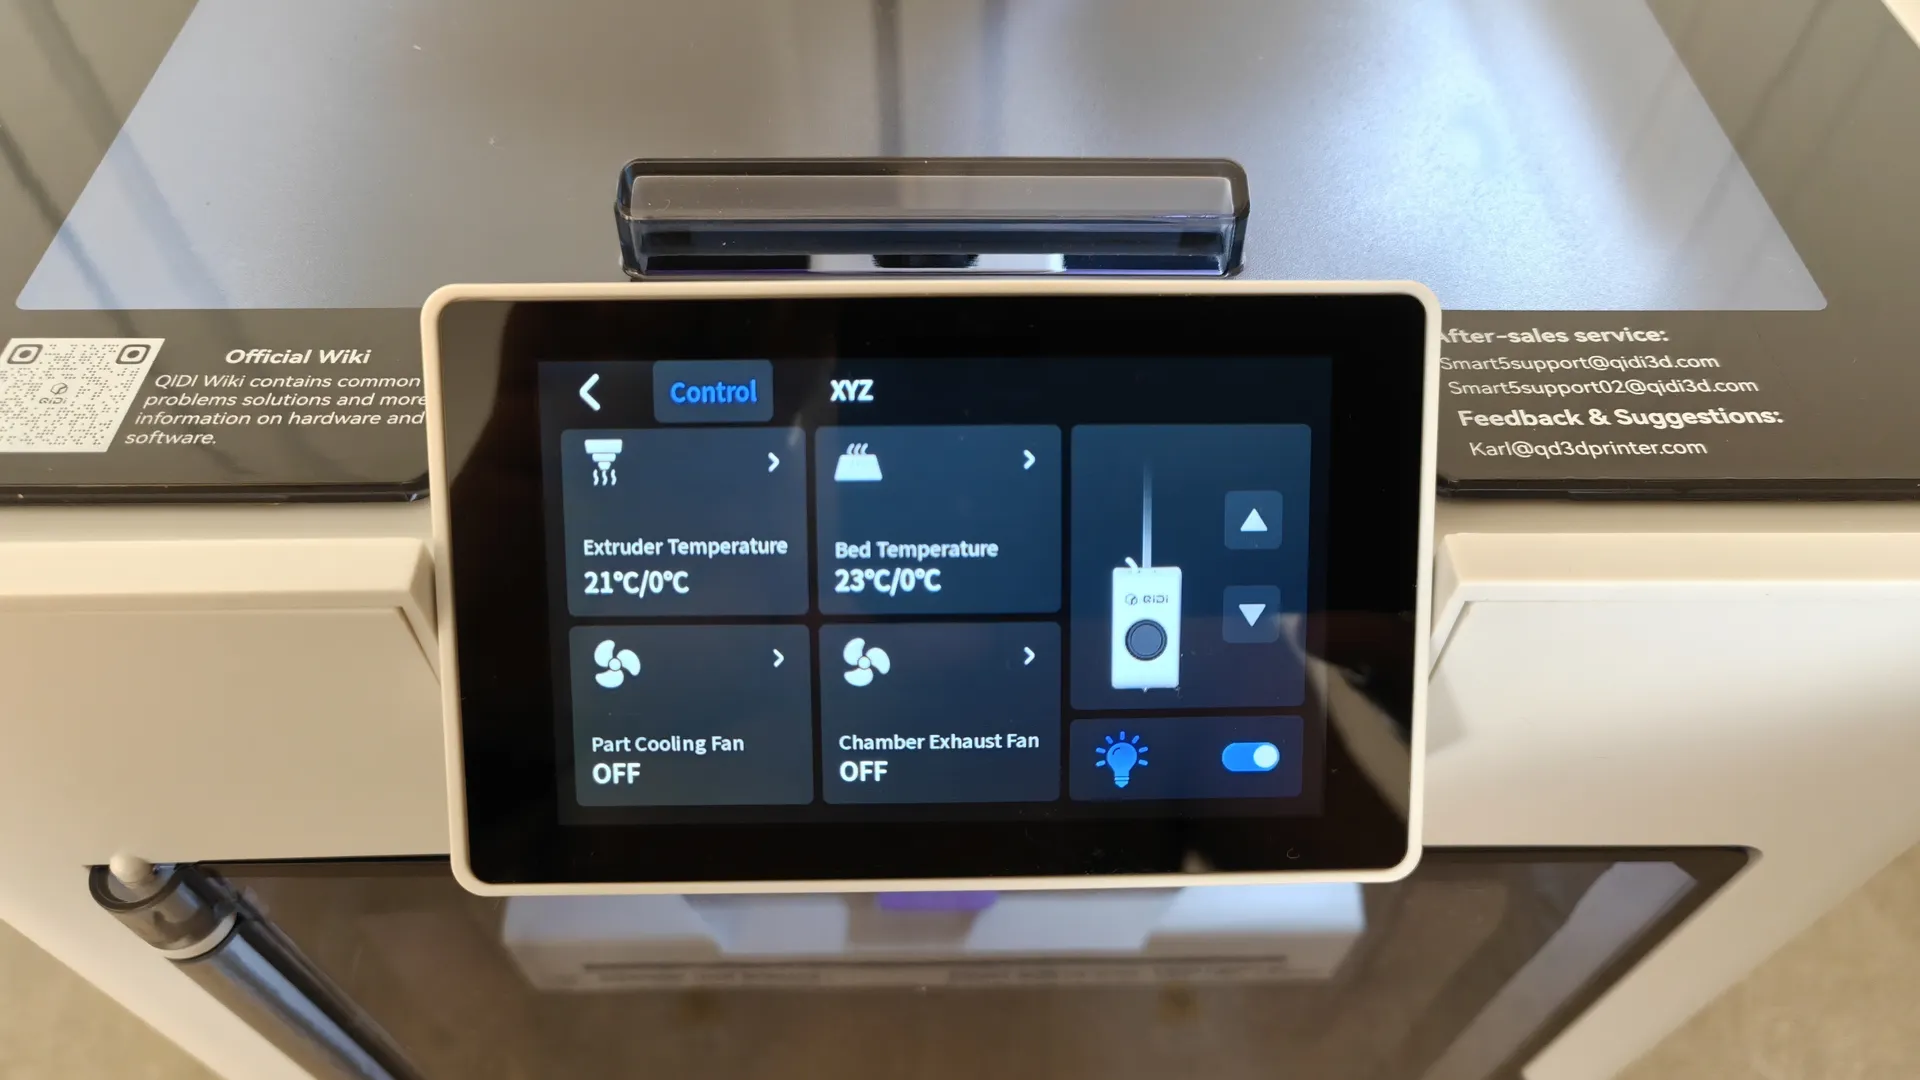
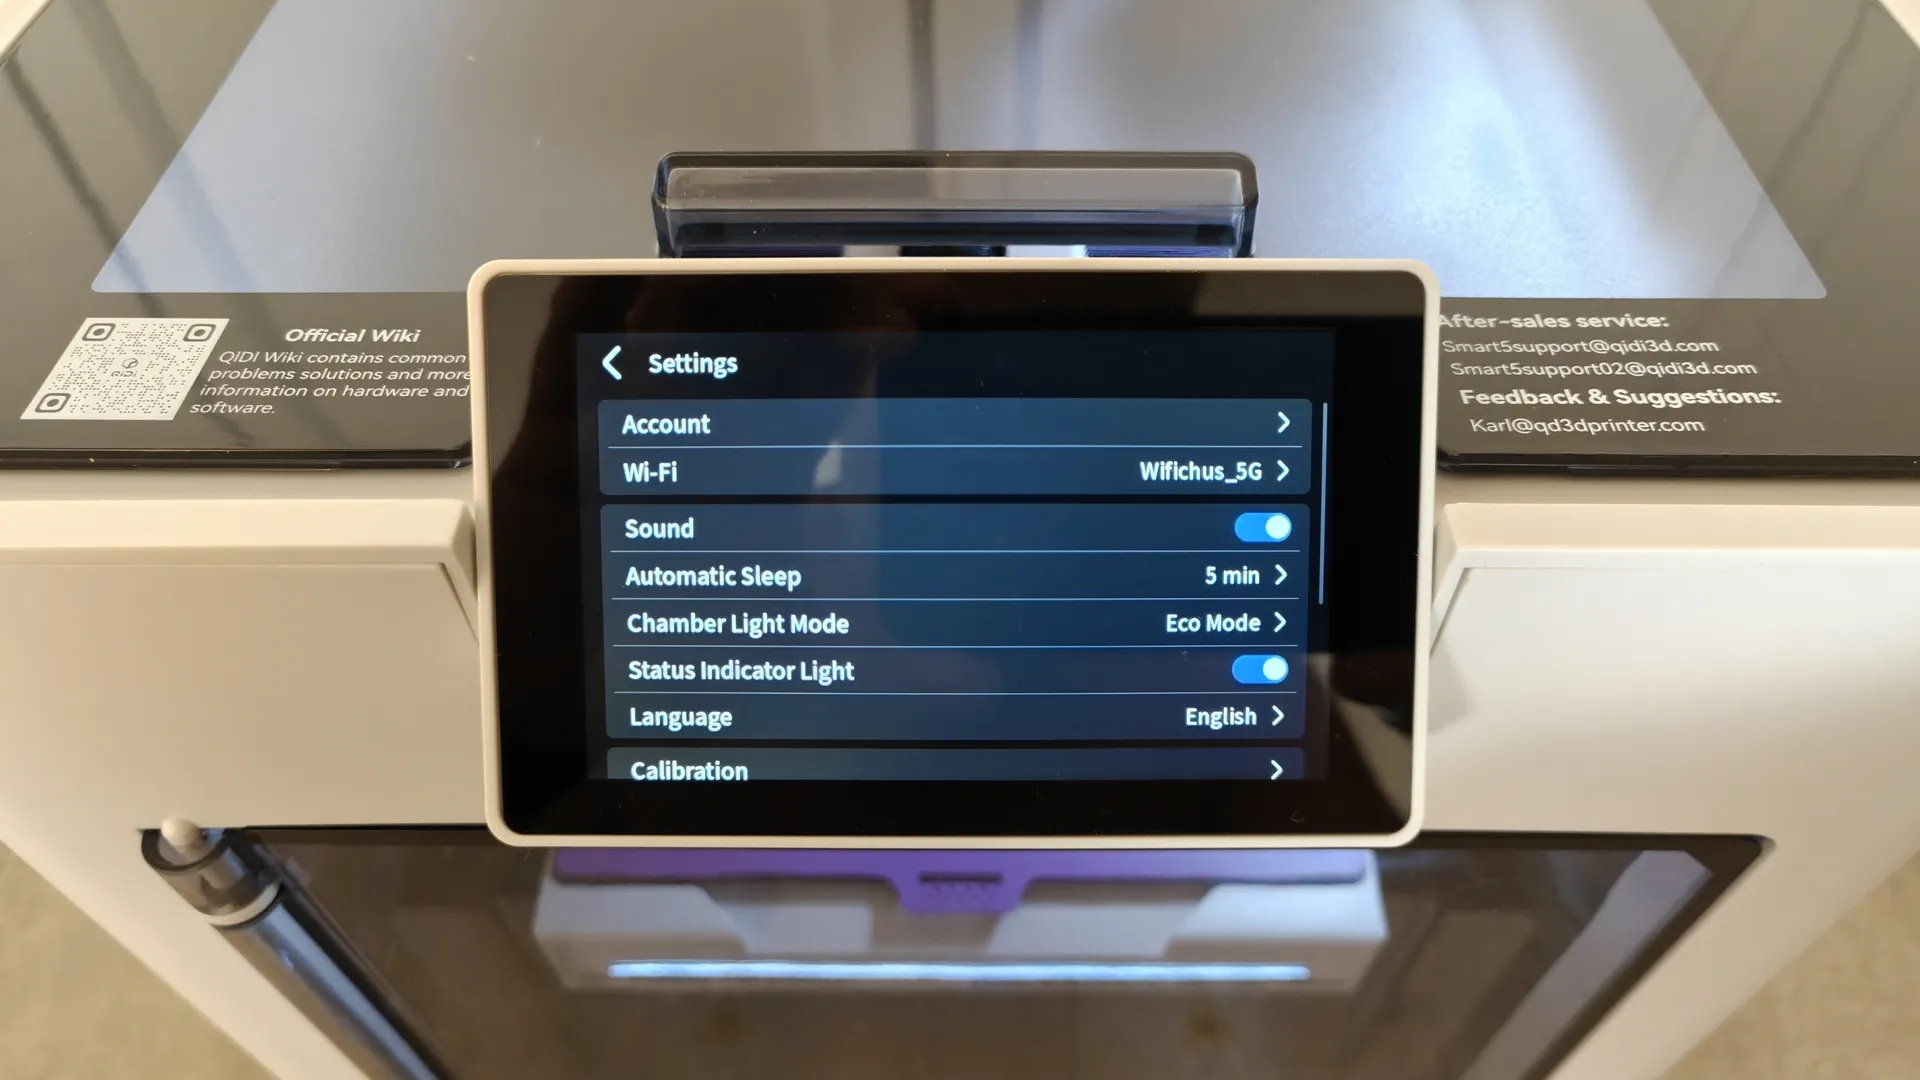
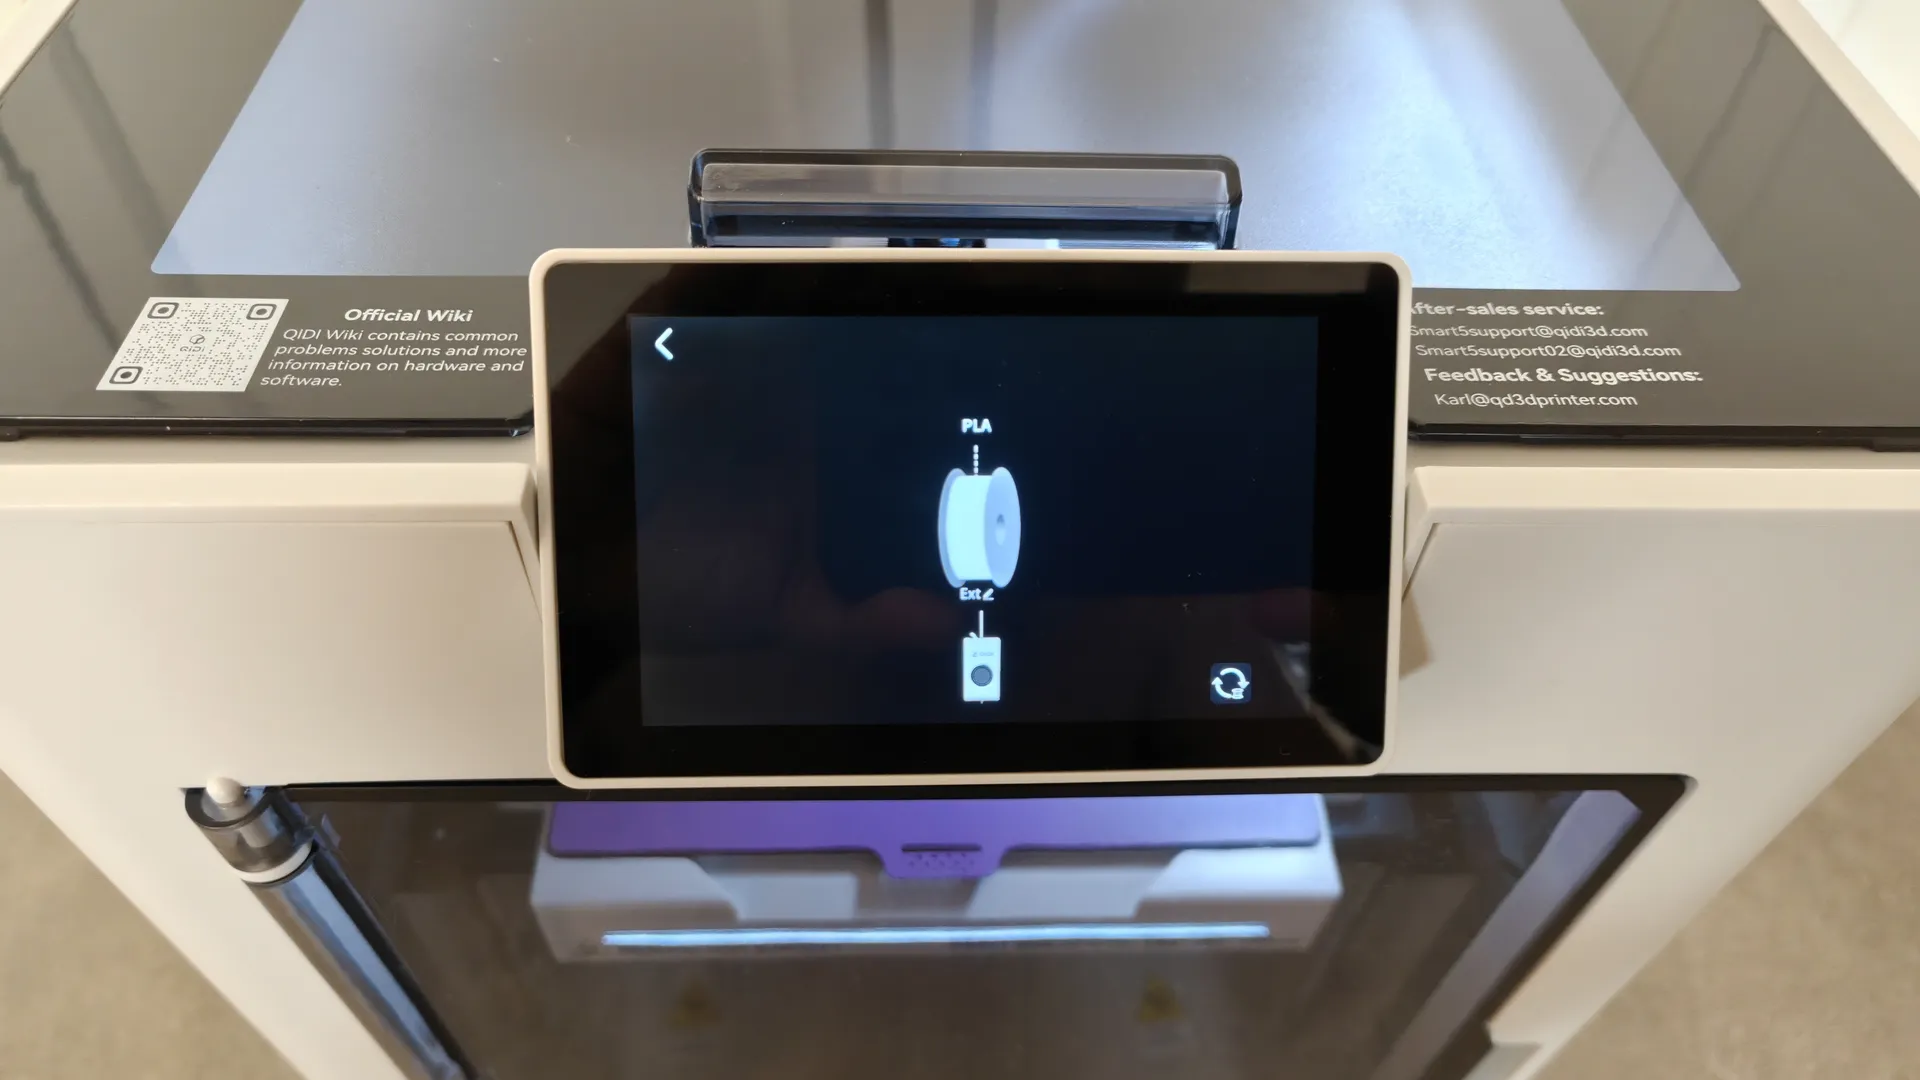
On the front, there’s a very convenient 4″ rotating touchscreen. At the top of the structure, there’s a USB 2.0 port, which can be used to perform firmware updates and import 3D models.
Drive System, Heating, and Cleaning
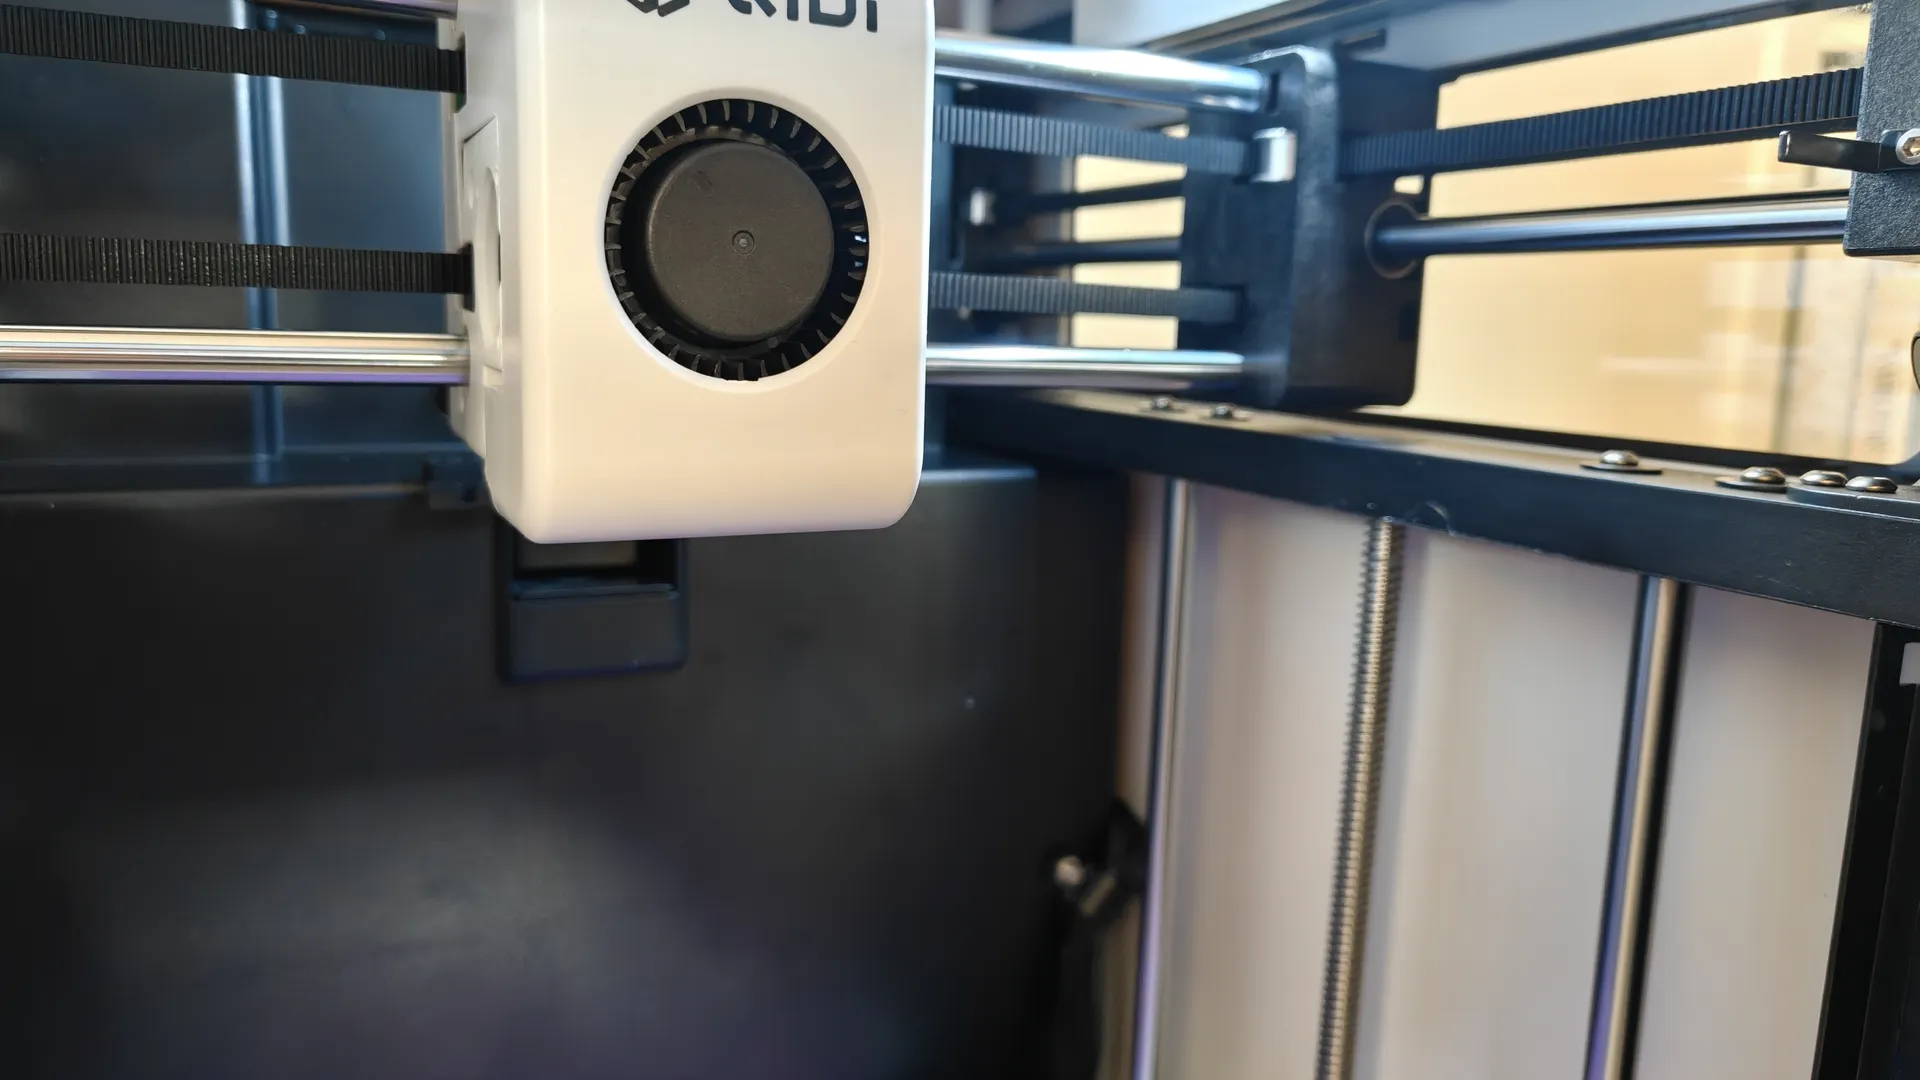
Inside the enclosure, there is an auxiliary fan for internal temperature control. It also features a HEPA filter. The base of the printer’s build chamber is smooth and very easy to clean. The print head cleaning system uses friction and ejects debris directly to the rear of the printer.
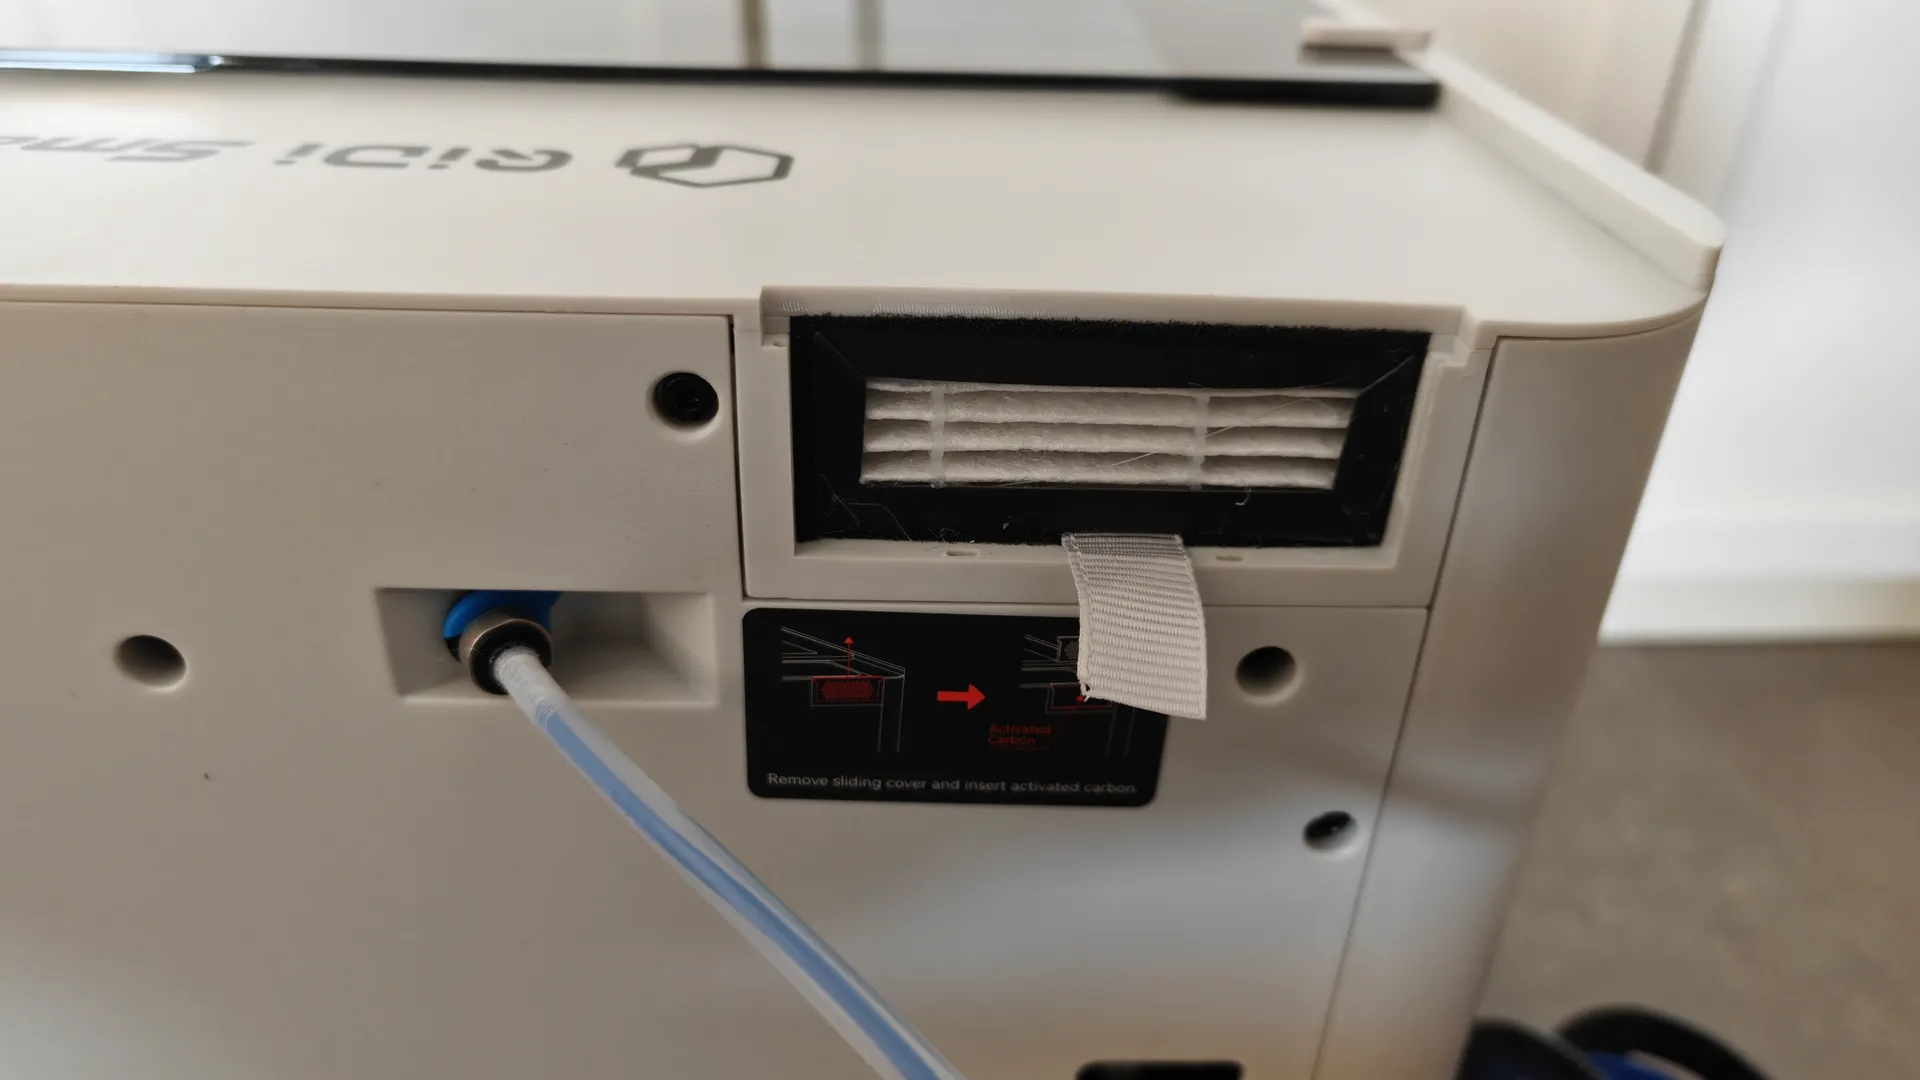
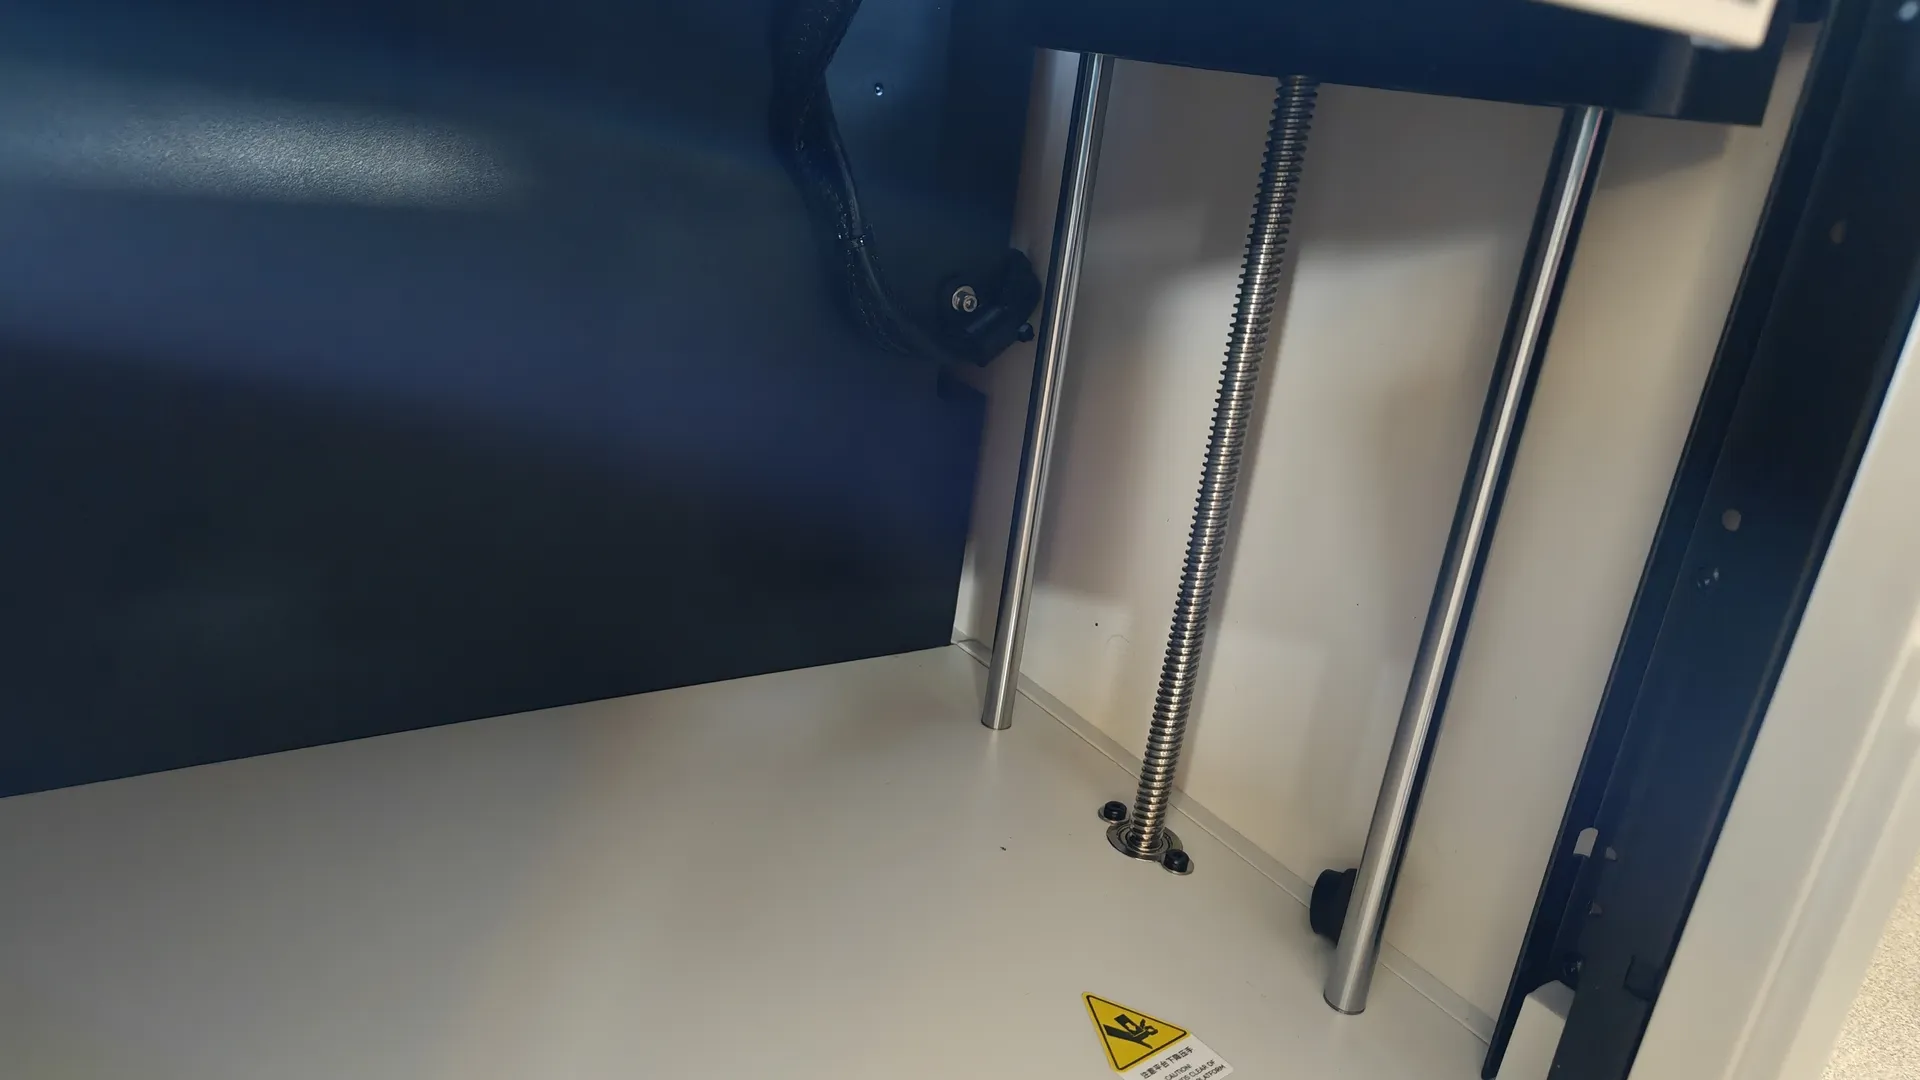
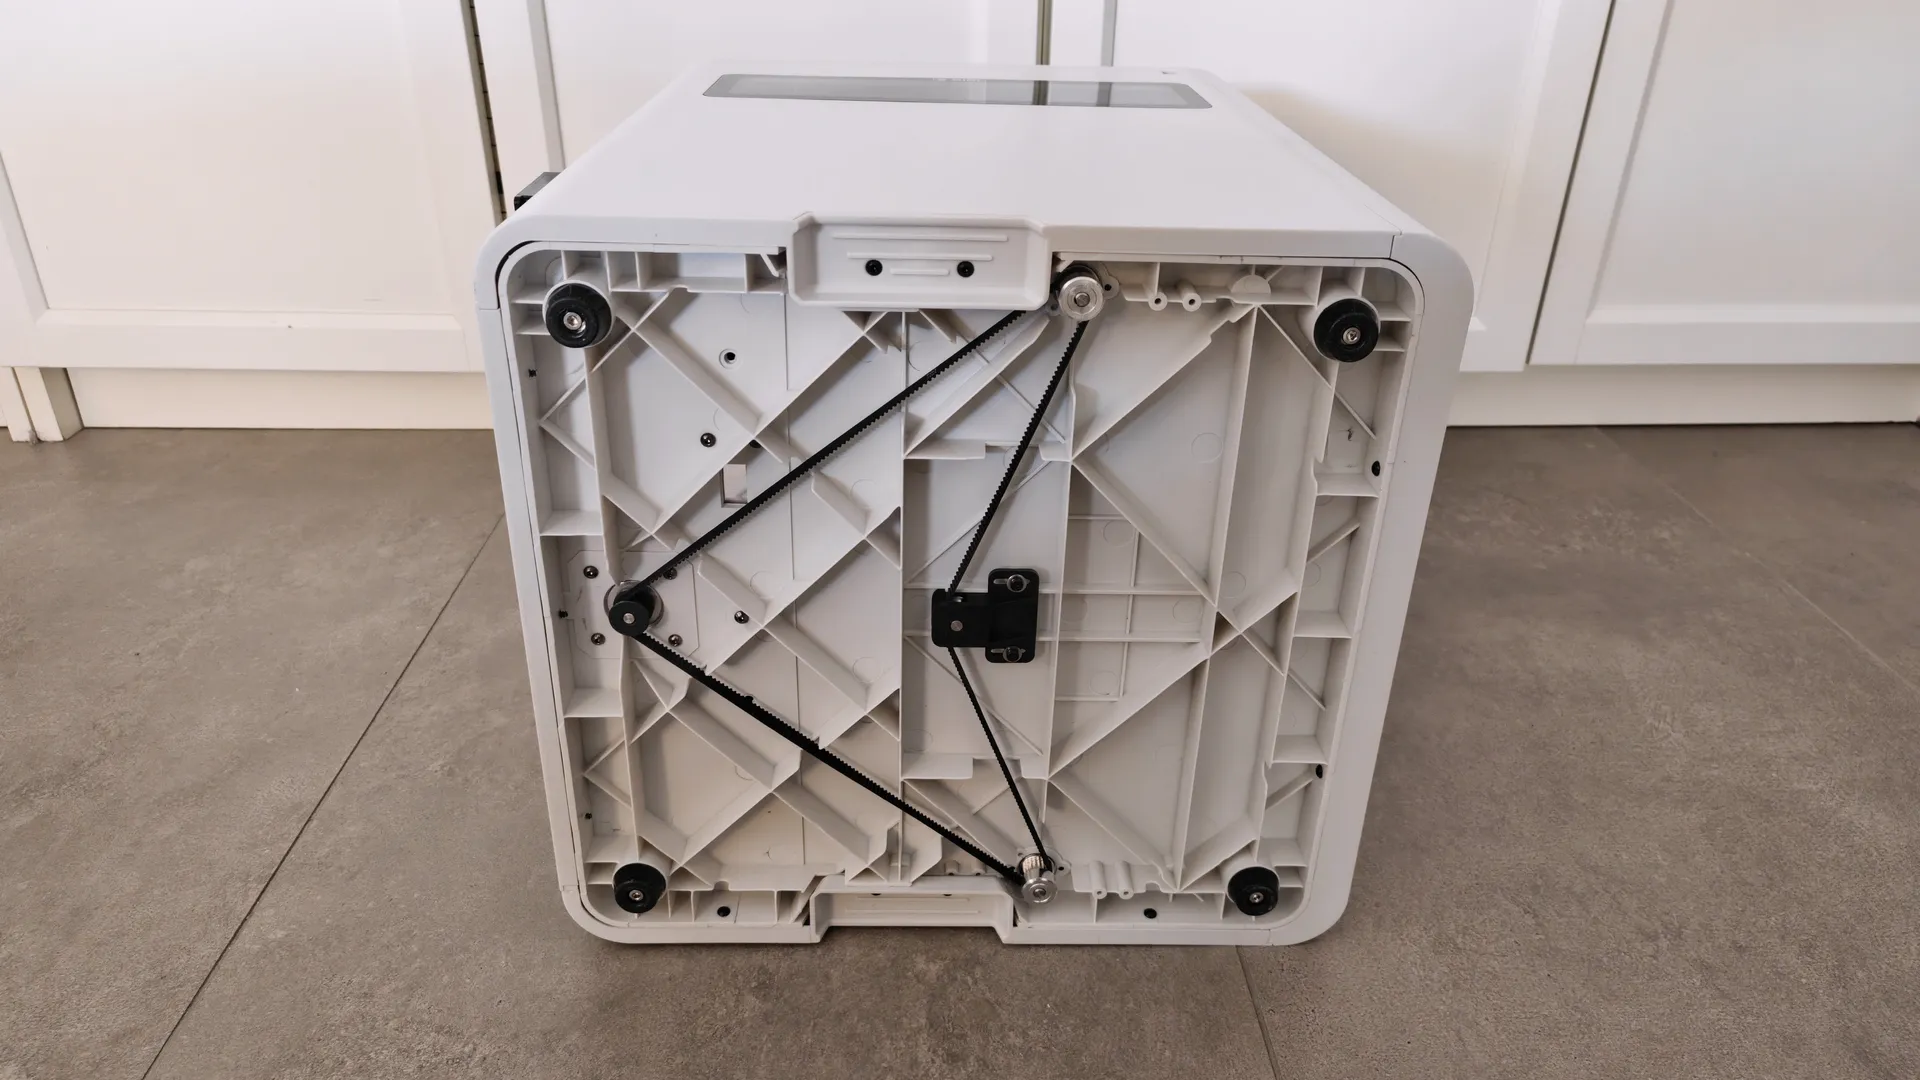
At the bottom, you can see the belt drive connected to the motor. Inside, the power supply is protected by the enclosure’s structure.
Camera and Lighting
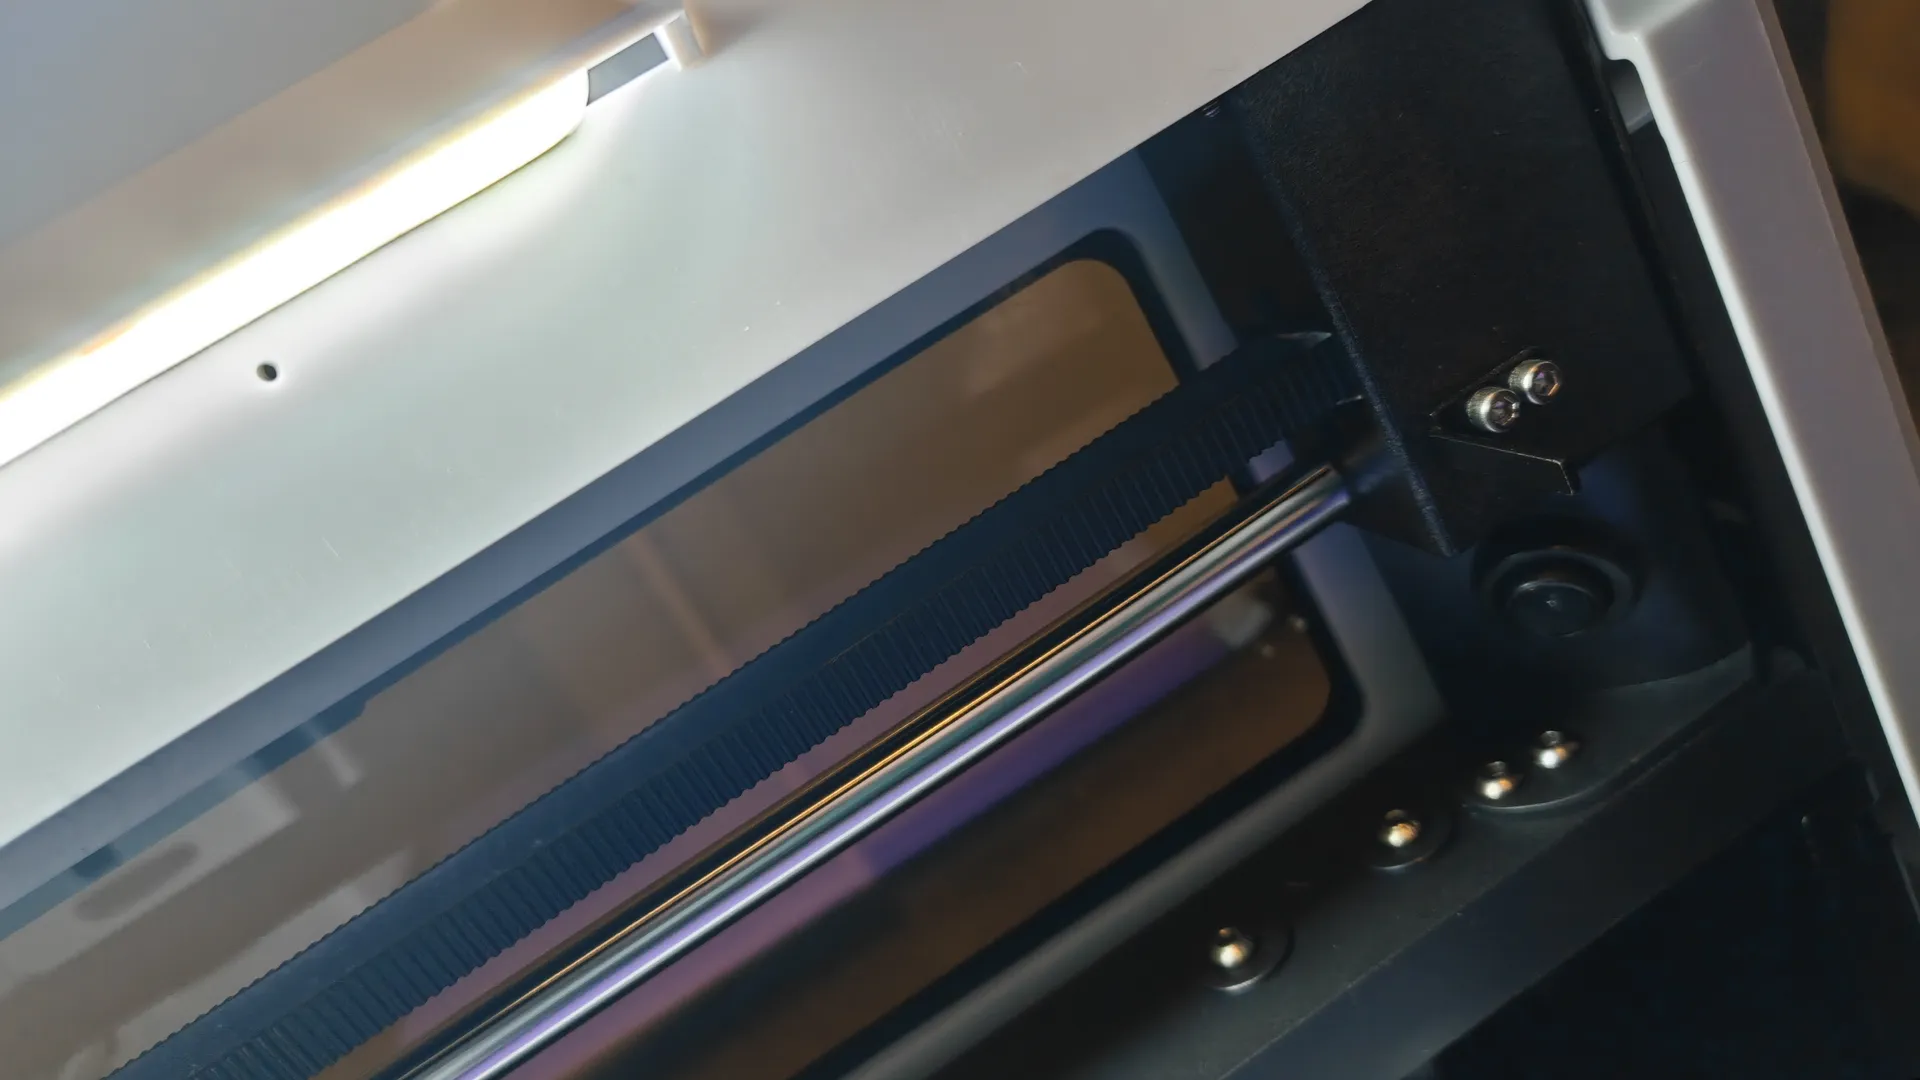
On one side of the camera is the Full HD video camera with a panoramic view; next to it, on the top frame, is a small integrated LED light strip that provides good lighting.
Platform and hot bed
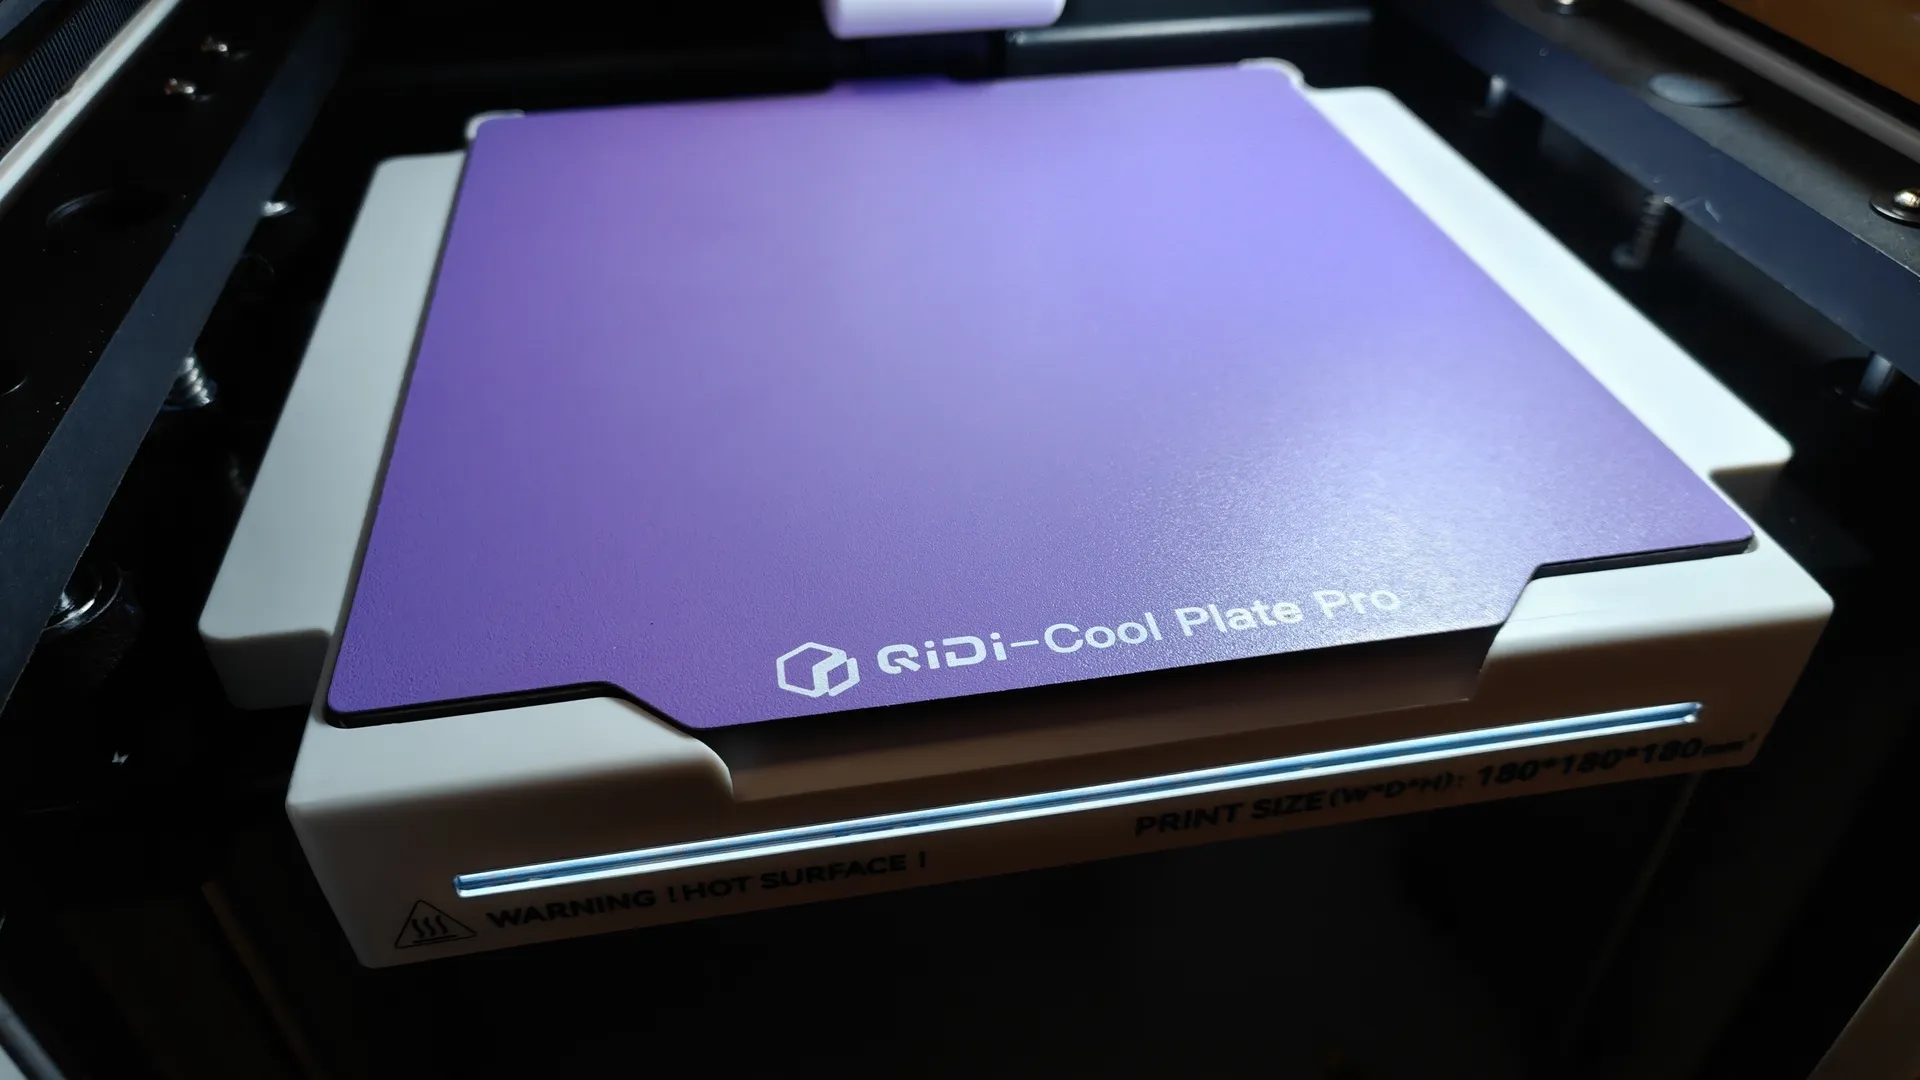
At the bottom is the double-sided magnetic plate, which can be heated uniformly up to 80 °C. The maximum print volume is 180 x 180 x 180 mm. Thanks to the design of the base mount, we can fit it in very easily without any worries, although we can also rotate it 180° as shown.
Print Head
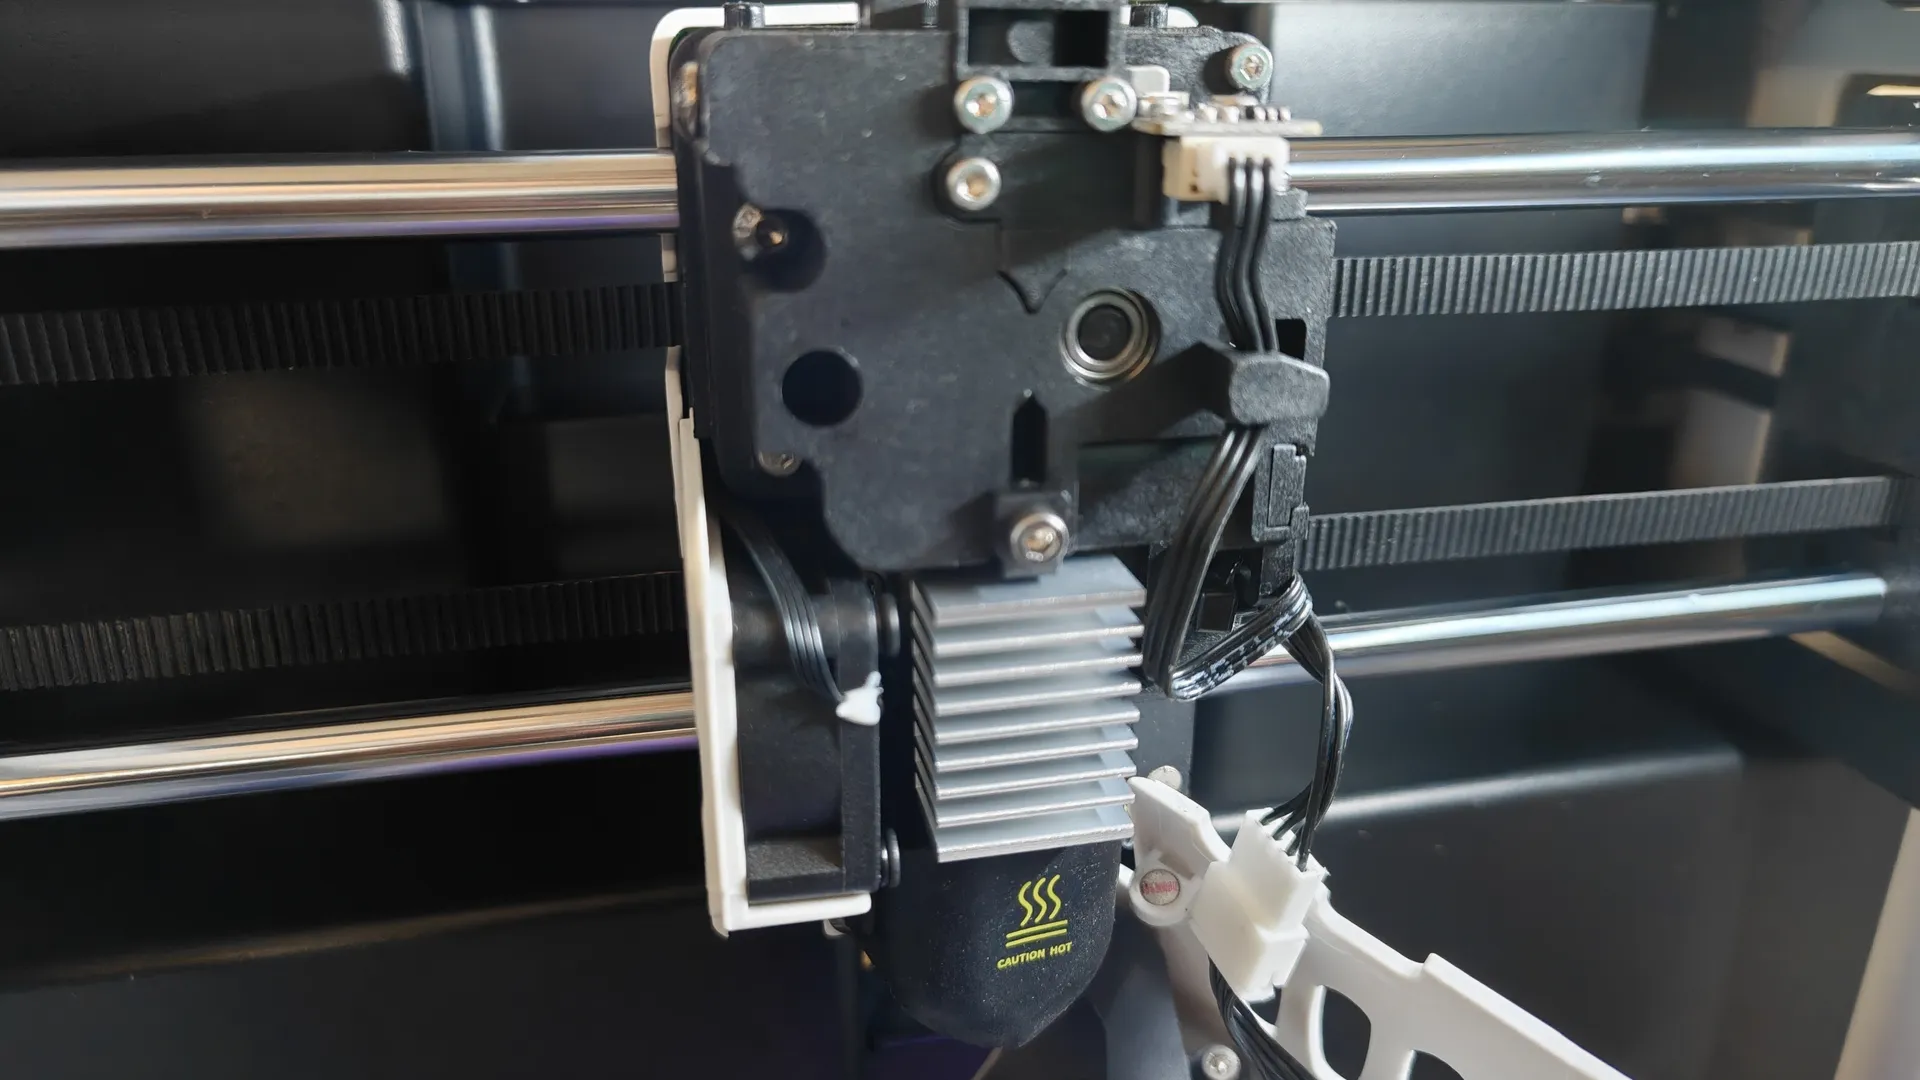
The default print head on the QIDI MakeBuddy Smart 5 cannot be completely removed without tools; it can operate at temperatures up to 300 °C. It features a powerful cooling fan that is quite quiet.
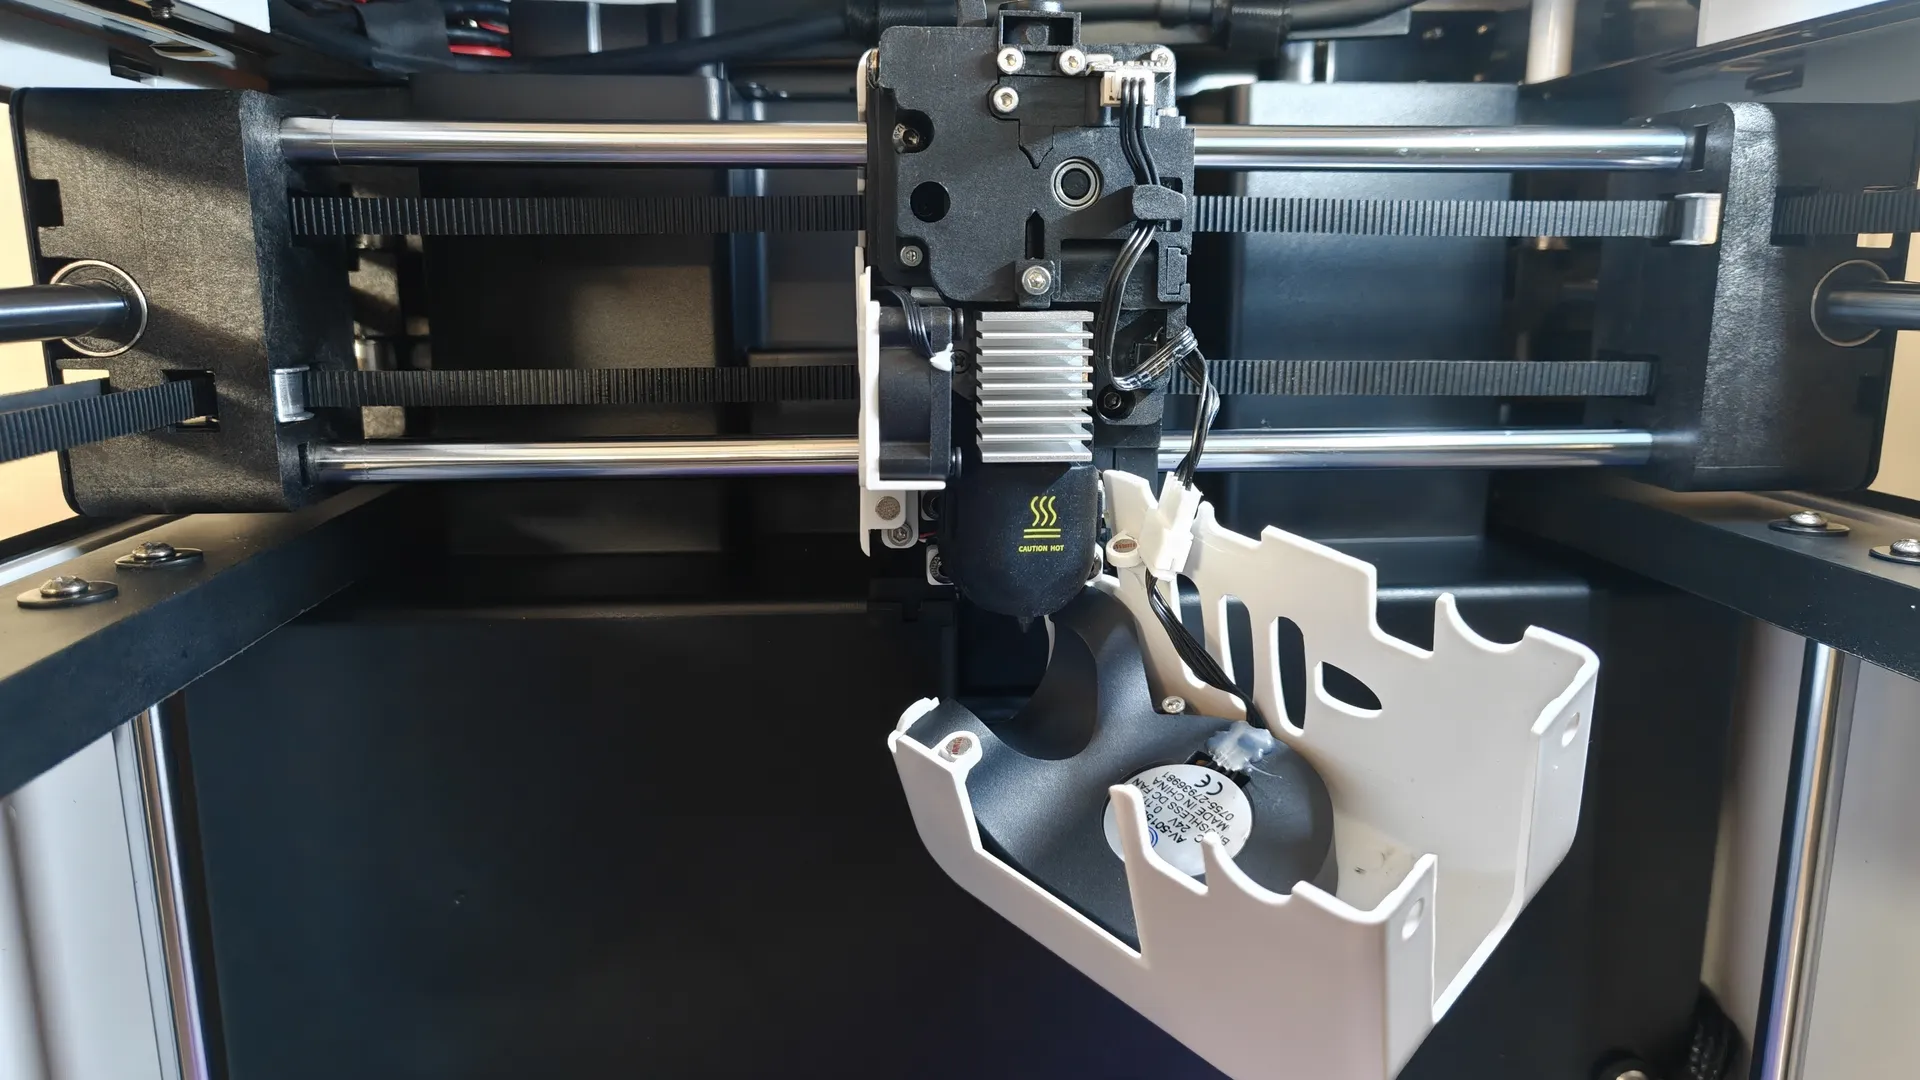
It’s easy to remove the print head by detaching the housing first by pulling it upward and then toward the front. Both the heating head and the extruder can be replaced. It features a very convenient automatic filament cutter .
Controls on the QIDI MakeBuddy Smart 5
The new QIDI MakeBuddy Smart 5 printer features a high-resolution 4″ touchscreen that lets you control all the basic functions of this device. It’s easy to access the menus for leveling, temperature control, job loading, the extruder, network connection, filaments, QIDI BOX, AI camera detection, and updates.
Part Design and Slicer
The default OS for QIDI Studio is a customized version of Bambu Studio, but you can also use other software such as Orca or Pulsa Slicer. The program will guide you through setting up the system with your printer; you can connect to it via Wi-Fi by checking the printer’s IP address in its settings.
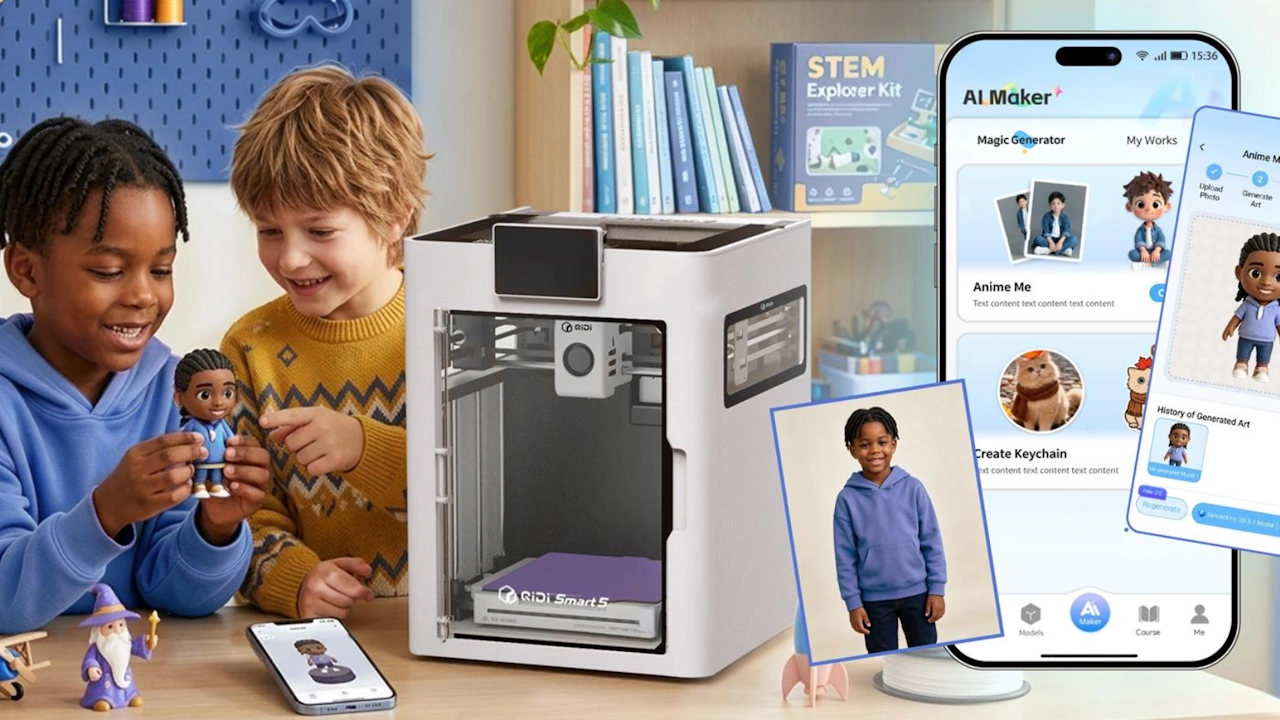
- This printer, designed for younger users, offers the QIDI Joy app for learning and creating models with AI.
- 3D objectlibraries on the websites Thingiverse / Grab3D / Cults3D / MakeWorld
- If you want to design your own 3D parts , you can use Tinkercad.
Real-time monitoring and camera
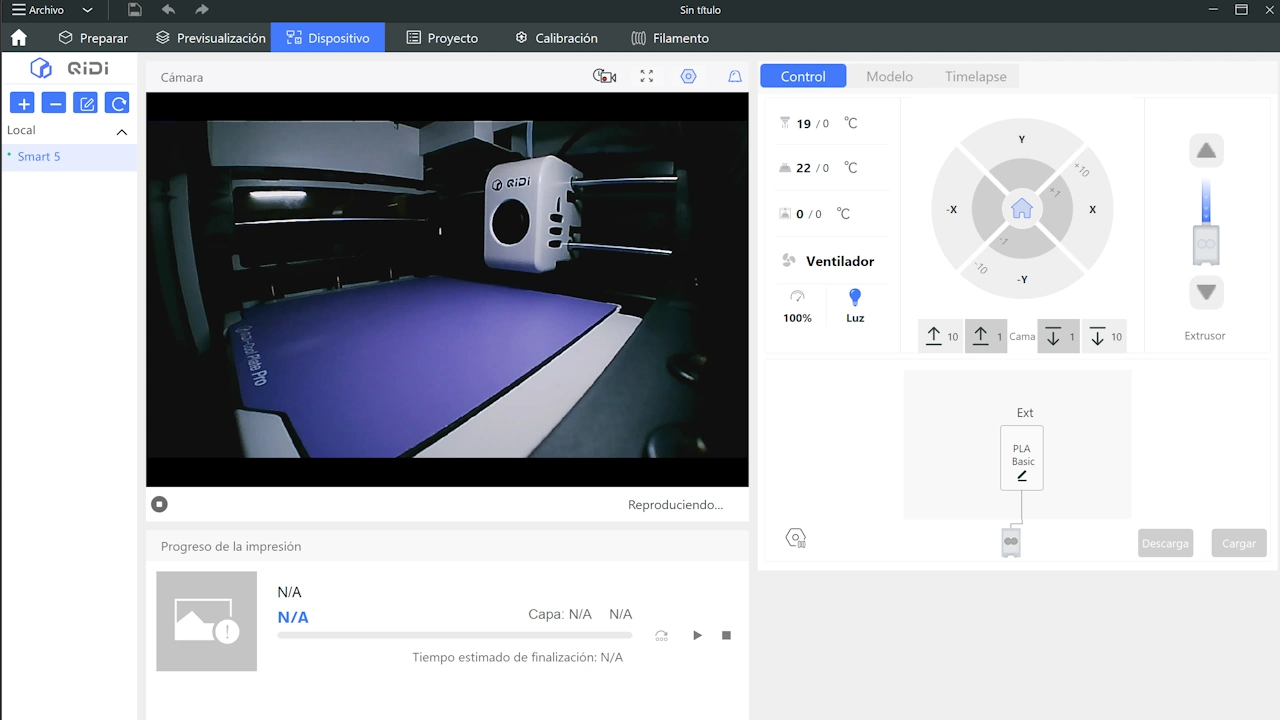
For software, we use QIDI Studio to have real-time control and view the built-in 1080p webcam; to do this, we need to go to the Device window. There, we find a very simple but inefficient interface (it should be Fluidd), where it’s easy to manage all the settings and activate different functions in real time.
- NOTE: You can connect from any device with a browser using the machine’s IP address; Fluidd is available on the web, so the app is the better option.
Test bench
Print Quality
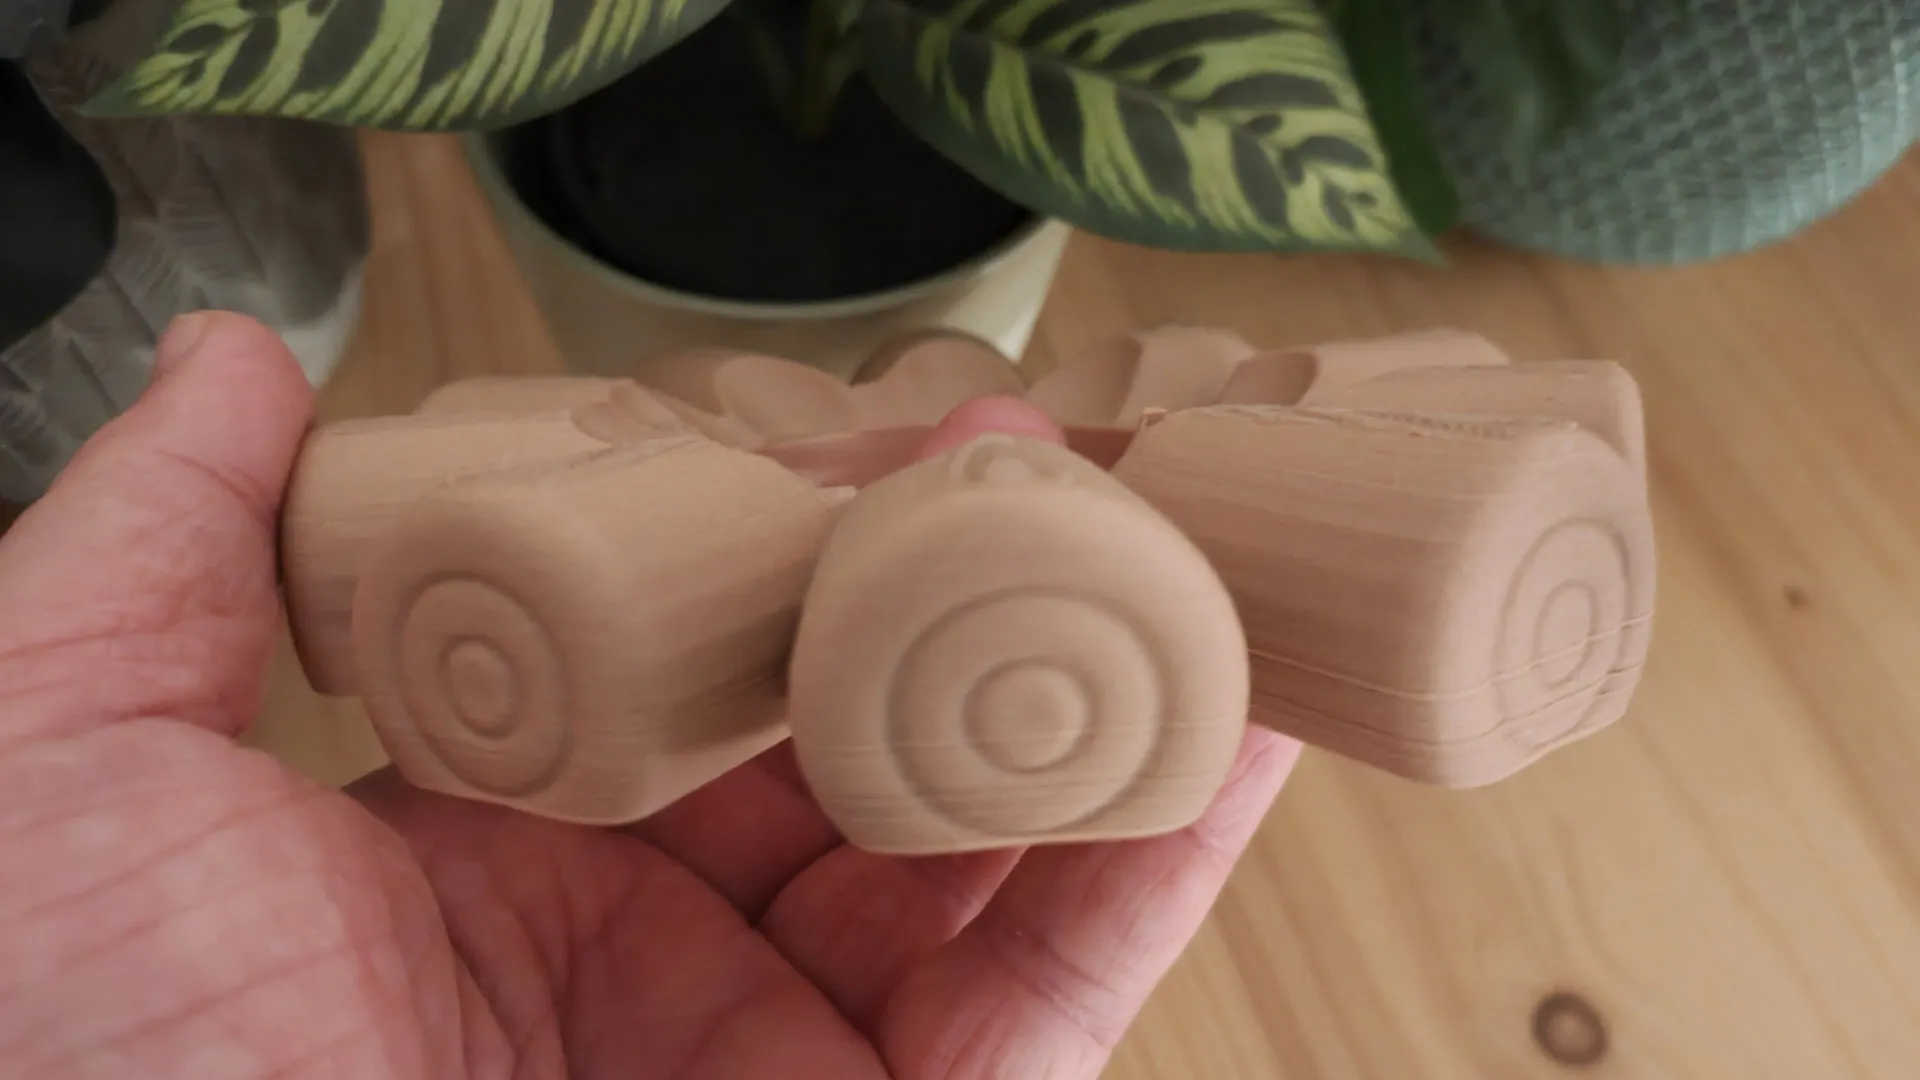
We tested the QIDI MakeBuddy Smart 5 printer with various 3D models and different materials. In our tests, we’ll be using the most common material, PLA (polylactic acid), as well as PLA-WOOD.
- If you work extensively with PLA, the Polar Cooler add-on is worth considering.
- For printing with multiple filaments at once, the QIDI BOX is the ideal option.
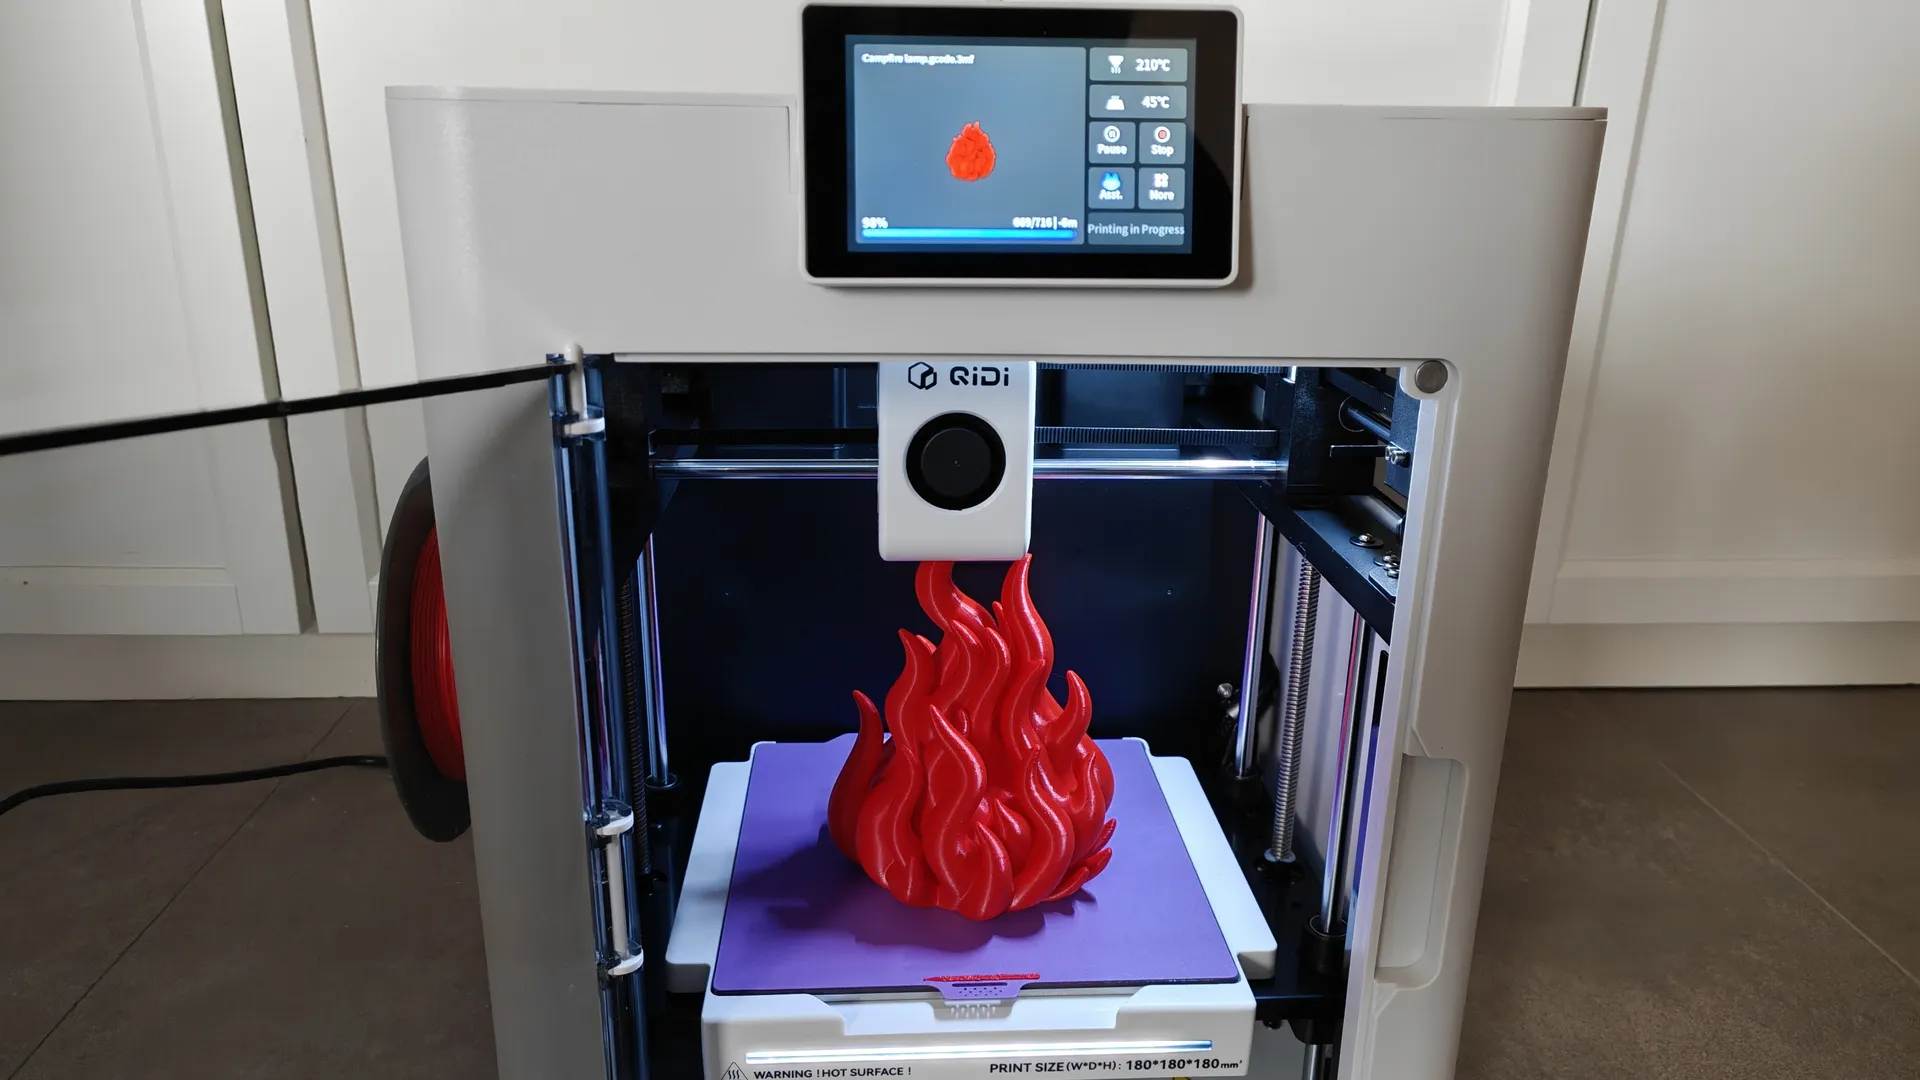
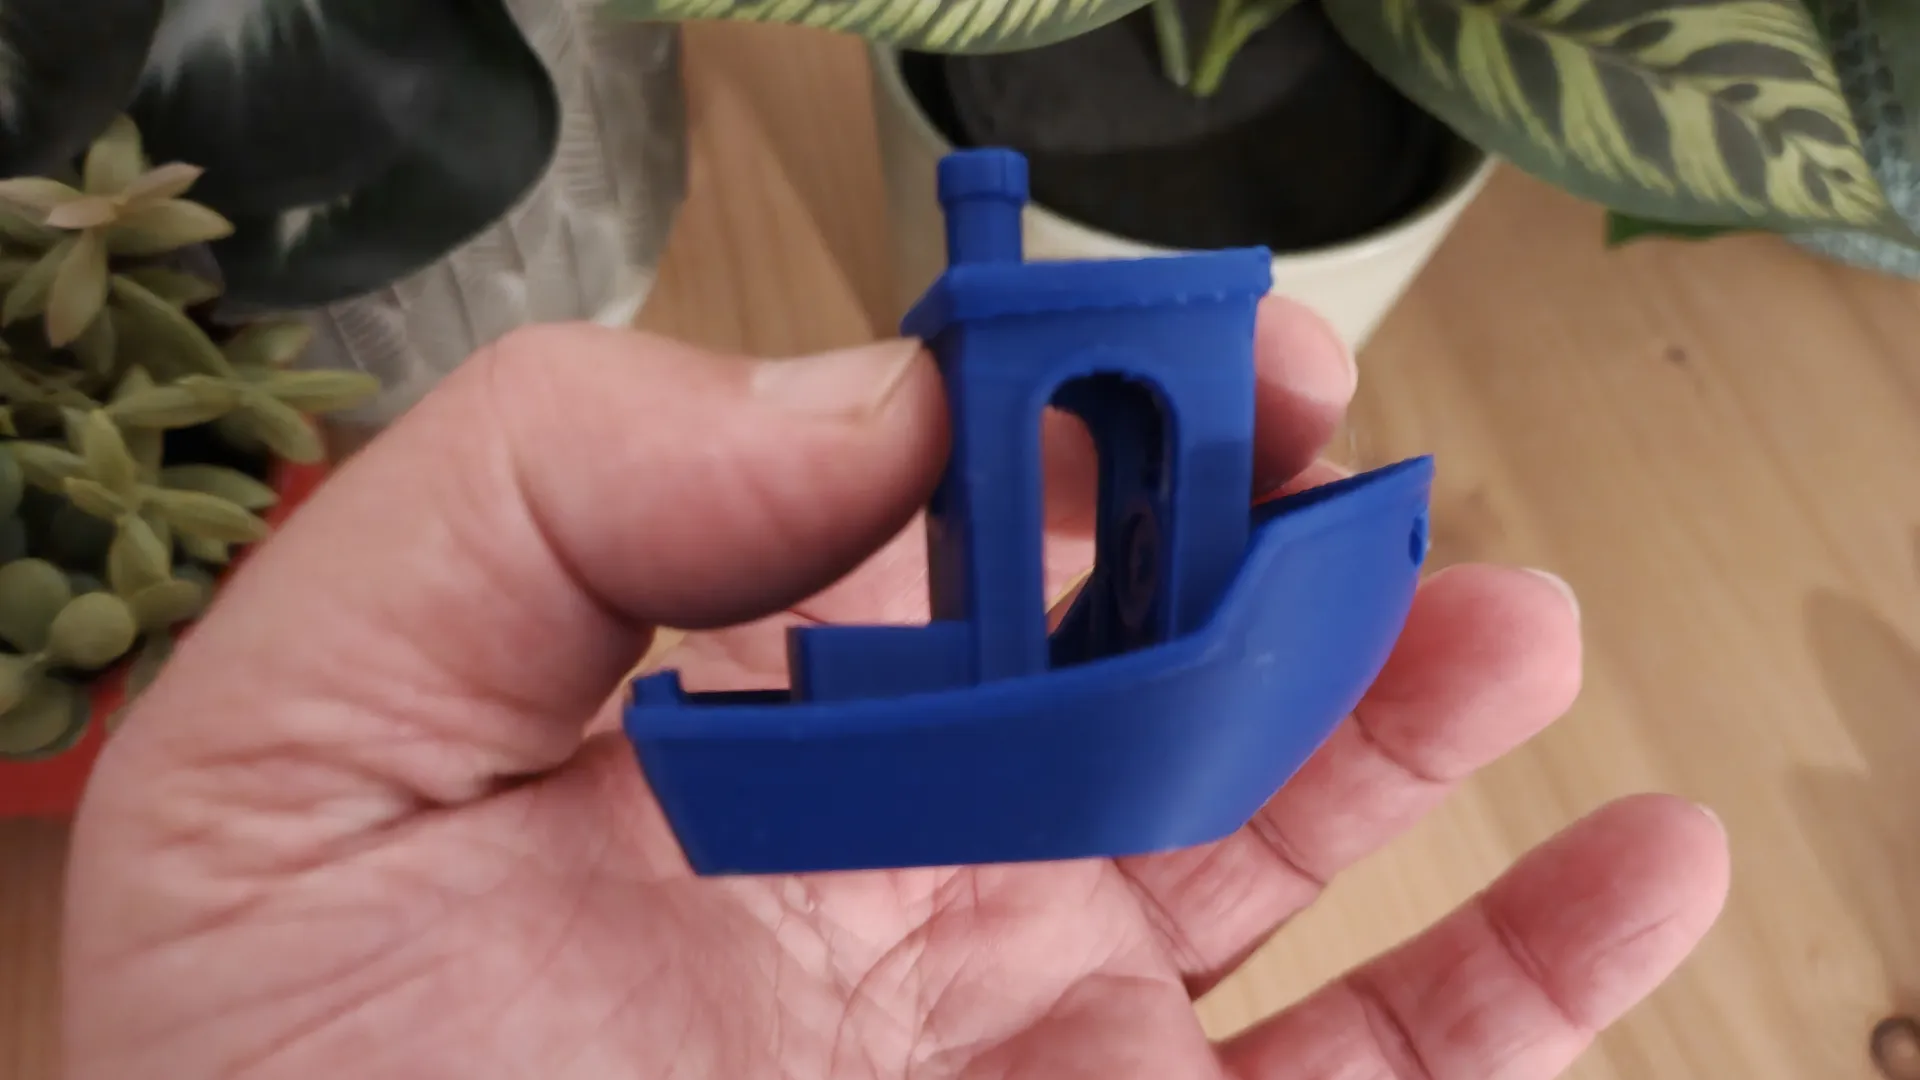
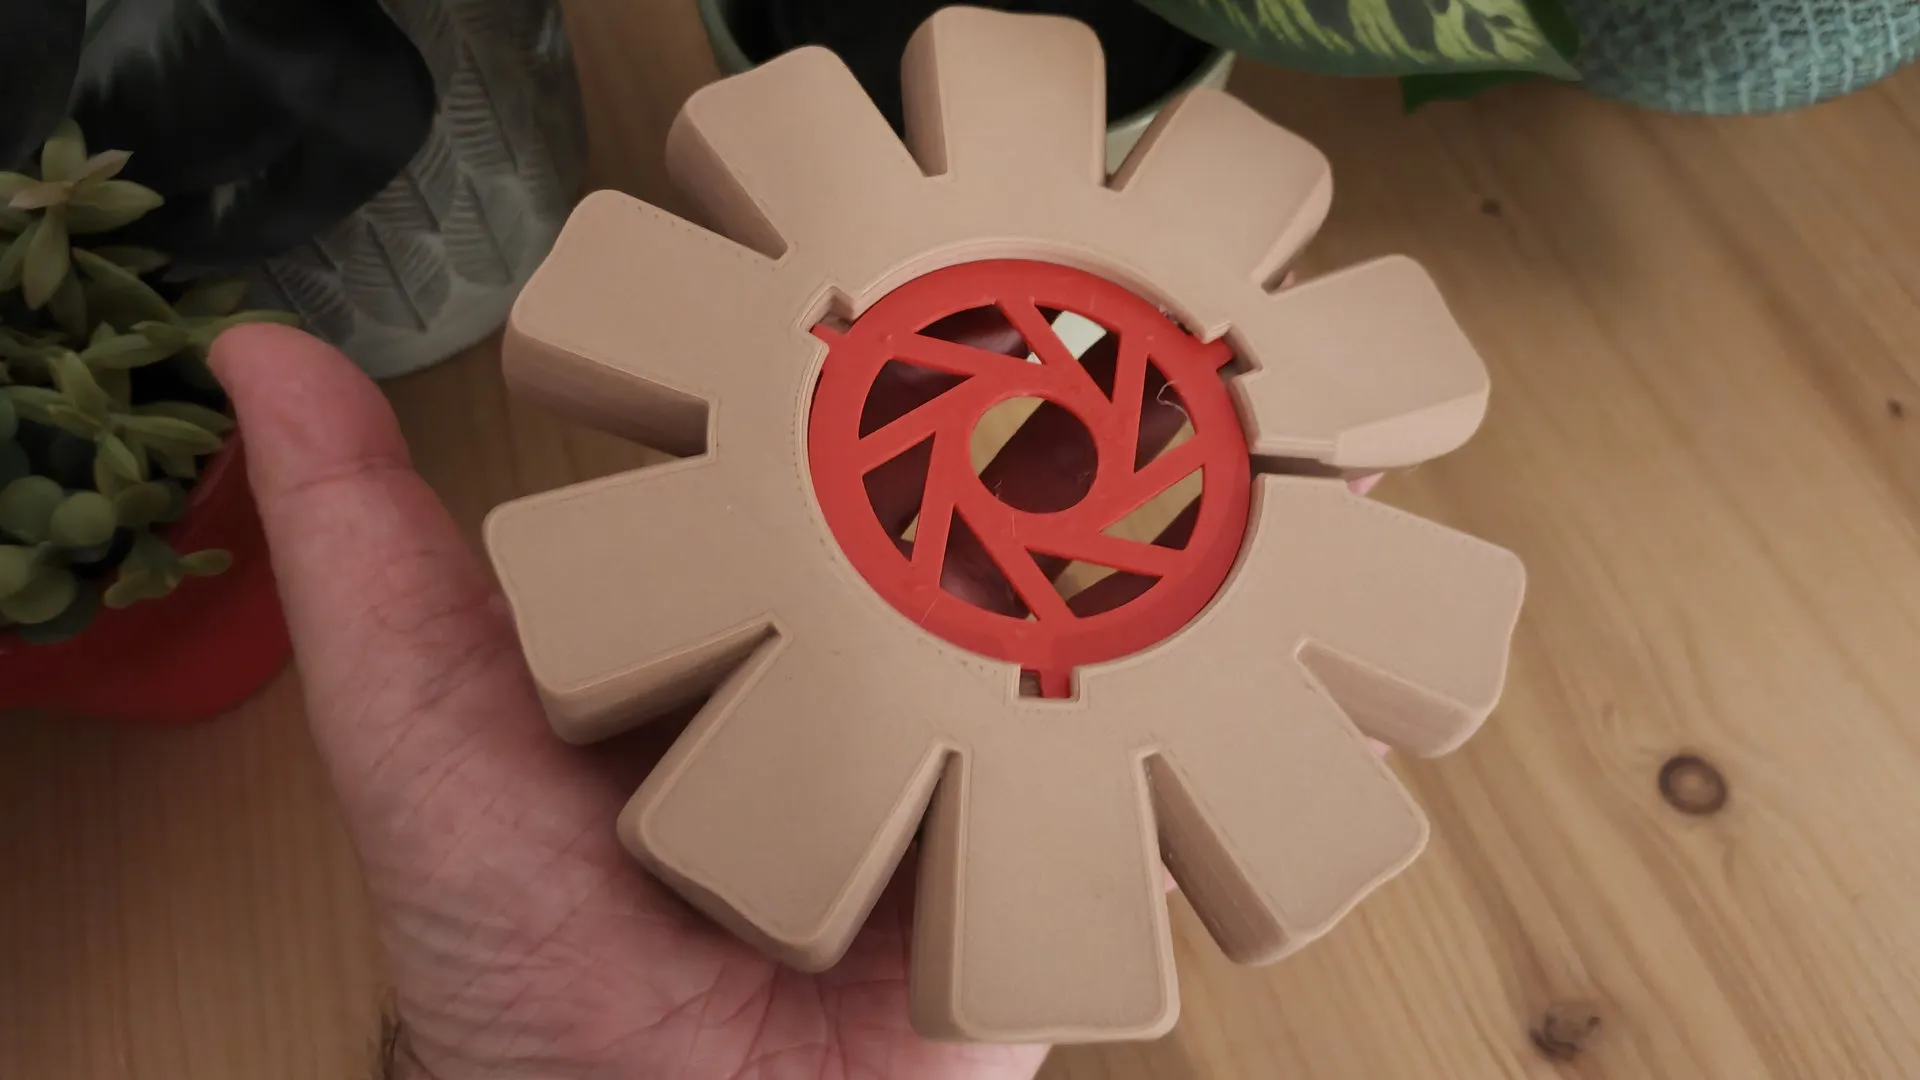
We produced some fairly large prints using the lighted campfire kit included with the printer, and we also have another fully functional clock kit. We observed that PLA produces good final quality, and we found it to be quite fast. The layers are well-defined, and no errors are visible.

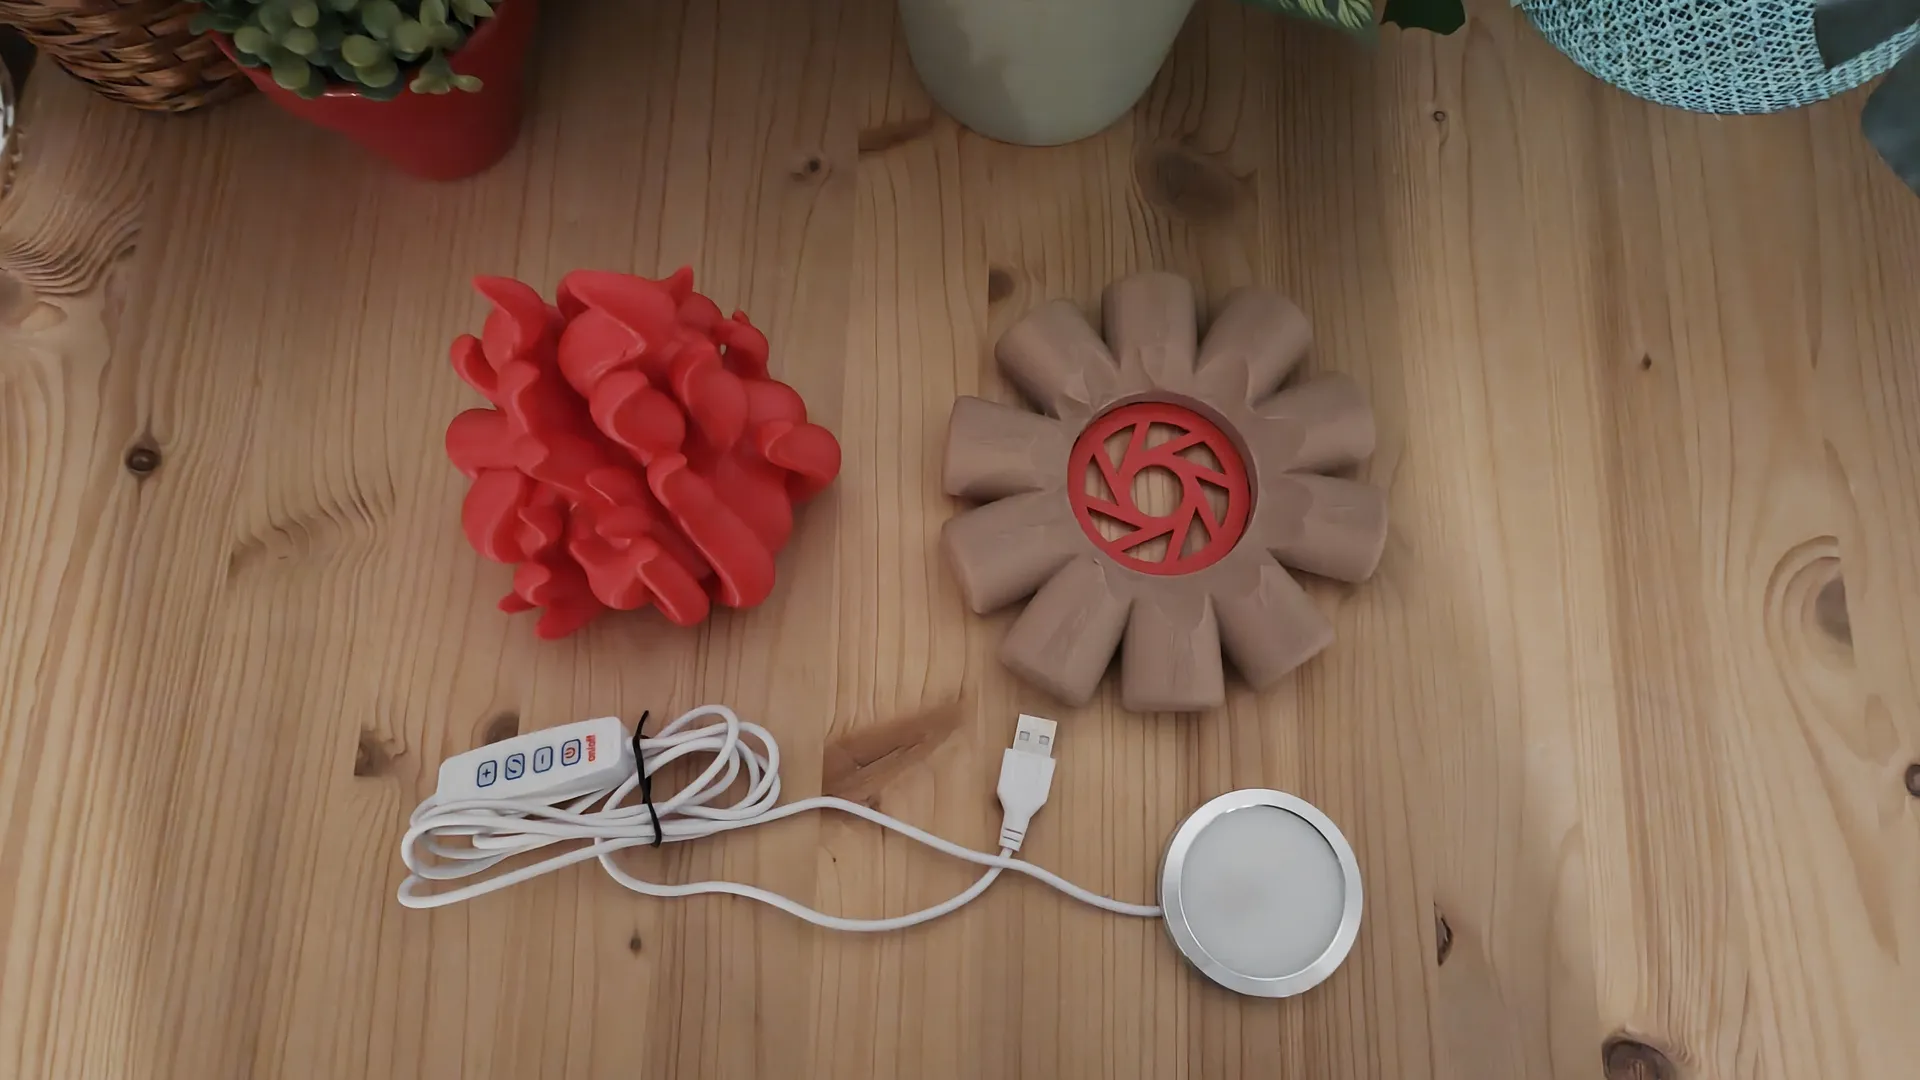
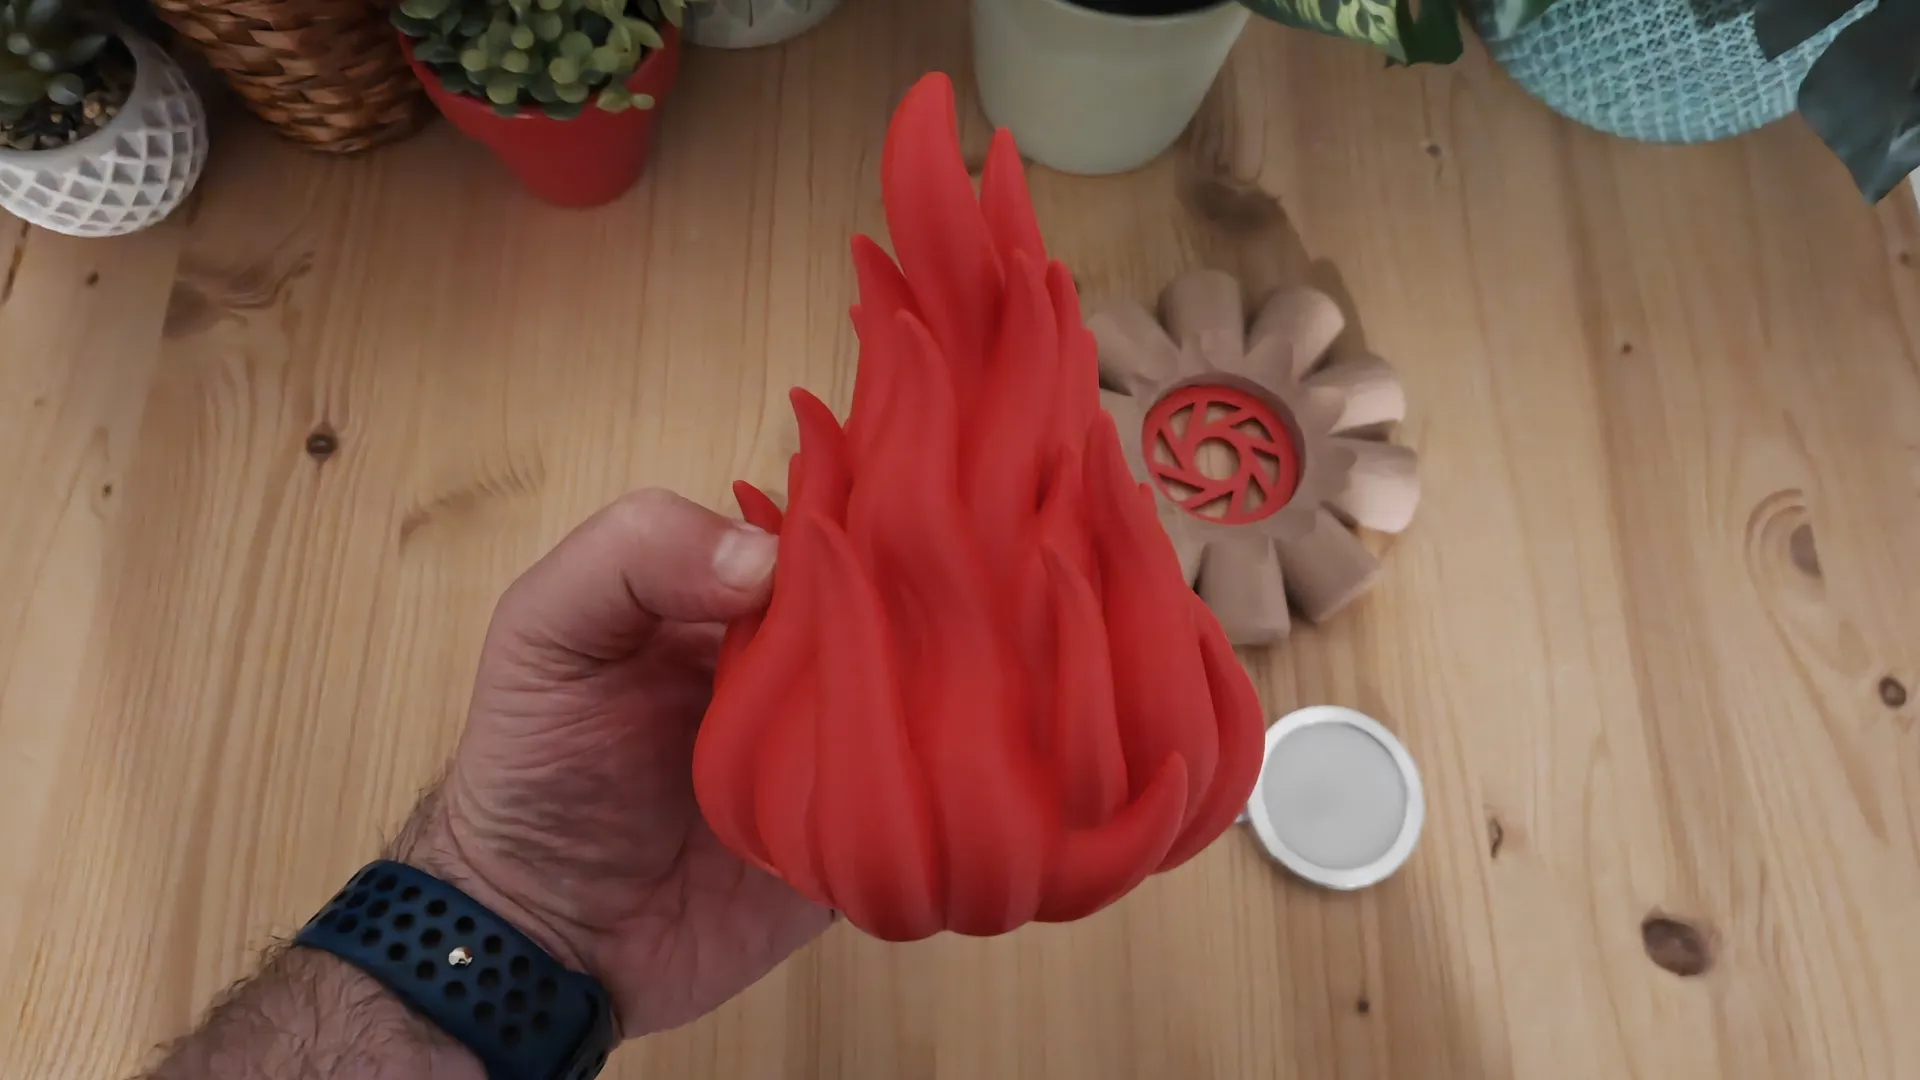
As a speed test, we printed a Benchy reference model , which took about 15 minutes to complete. With PLA-WOOD a more challenging material than standard PLA we also achieved good results; we’re confident we could print other similar materials without any issues.
Temperature and Noise
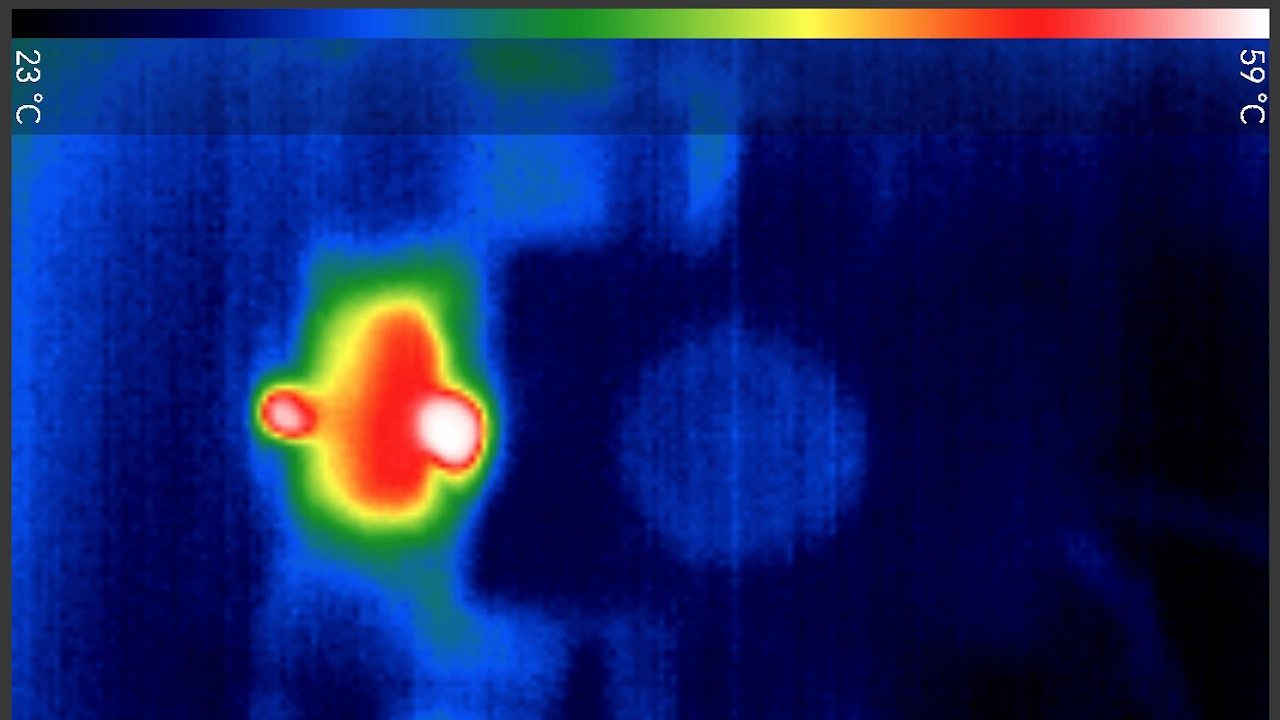
We examined the temperature readings of the QIDI MakeBuddy Smart 5 printer; the system heats up normally, and we didn’t notice any abnormally hot spots on its components. As for noise levels, the printer reaches 45 dB during normal use it’s a fairly quiet experience.
Review Conclusions and Purchase Link
Opinion
This new QIDI MakeBuddy Smart 5 3D printer is an interesting option for kids at home; the print volume is small at 180 mm³, but so is the printer’s case. Thanks to its user-friendly design and apps like QIDI Joy, it’s very easy to use without any complications whether you’re following along with tutorials or creating models with AI. The entire machine is designed to be as simple to use as possible.
Assembly is very straightforward; you just need to follow the steps outlined in the manual. This printer supports theQIDI BOX system as an optional accessory, which allows you to work optimally with four different filaments. Its build plate has a limited temperature range, which prevents you from using technical materials.
This new QIDI MakeBuddy Smart 5 3D printer offers a great entry-level platform for the youngest members of the family. It’s a high-quality machine whose only limitations are in print volume and materials.
Where to buy at the best price
- The QIDI MakeBuddy Smart 5 3D printer is available for purchase in the QIDI store from $349.
- We also offer a multi-filament Combo option with the QIDI BOX.
Review
PROS
- Compact size
- QIDI Joy app for learning
- Fast
- Quiet
- Plug-and-Play system
- Compatible with QIDI BOX multifilament
- High-quality camera and light
CONS
- Low volume
Rating – 87%